Tag: CLI

  • Cool Tools Series: Vim

    Cool Tools Series: Vim

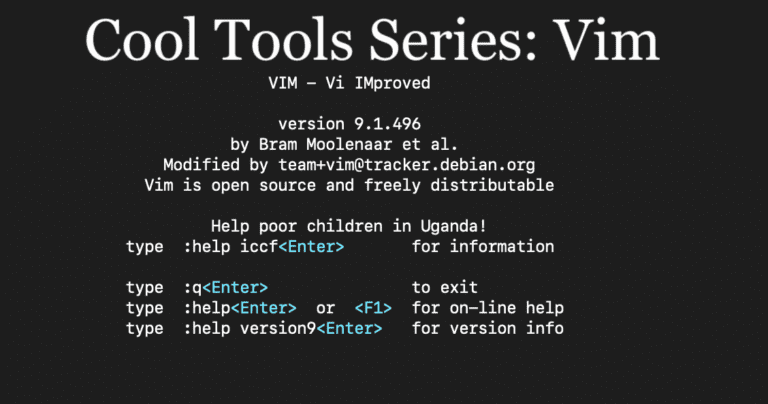
    In my last Cool Tools post on Masscan, I mentioned Awk and Vi as helpful tools. In today’s Cool Tools post I chat about Vim, self-styled as “Vi IMproved.”

    How I Use Vim

    There are many options when working with text files on the command line. My favorite and go-to 99% of the time is Vim. Working with Vim may seem scary and confusing. With just some basic commands, though, it can become a very powerful tool for finding information in large files or for making quick edits.

    Given that a lot of my pentesting work is done on remote systems without a GUI, it can sometimes be arduous to download a file, change it, and upload it again just to make a small change.

    In this blog, I’ll go over some very basic Vim commands and key binds. Vim can do so much more than what I will be going over here, but this should give you a good start in gaining some comfort with it.

    Moving Yourself Around the File

    Cursor Movement

    By default, when you open a file with Vim, it will put you in command mode. In order to move around the document, you can use the H, J, K, and L keys on the keyboard. Naturally arrow keys also move you in the direction you would expect. But let’s try and keep the fingers on the home row.

    • k will move you up one line
    • j will move you down a line
    • h will move you left one character
    • l will move you right one character

    Note that, when trying to move the cursor around, don’t use the shift key as a capital K, J, H, or L will do different things than a lowercase. Lowercase is what moves you around.

    Adding Line Numbers

    You can use “:set number” to tell Vim to show the line numbers at the beginning of every line, which can be very helpful when moving around the file.

    Move Around Lines

    If you know what line number you want to be on “:Number[ENTER]” will take you to that line. This can be useful when modifying scripts or source code when you have the line number of the error.

    If you want to jump to the end of the line, you can enter “$” (shift+4) and jump to the end. Entering “0″ (zero) will jump to the beginning of the line.

    A “w” (lowercase W) will move to the next word, while “b” (lowercase B) will move back one word.

    Search for a Specific String

    If you want to find a string in the document, first hit the “/” (slash) key then type in the string you are searching for. This will search for the next occurrence of your search term below your cursor. Once you hit enter your cursor will be at the beginning of the string. You can hit “n” (lowercase N) to move to the next occurrence. Capital “N” (shift+N) will go to the previous occurrence of the search term.

    If you want to search above the cursor input the “?” key followed by the search term. It works the same way as “/” but searches in the opposite direction above the cursor.

    Search Using Regular Expressions

    Searching can also include regular expressions (regex), which makes this feature very powerful. Regex deserves its own post, so I’ll take a look at them in another blog.

    Insert Mode

    Since we know how to move around now, let’s talk about inserting data. An “i” (lowercase I) will put us into insert mode. You will see the word “insert” in the bottom left notating that we have left command mode and are now in insert mode. Here, when we type, that information is written to the file.

    When we are done writing information to the file, we can use the escape (ESC) key to leave insert mode. Generally speaking, the escape key can usually get you back to command mode if you end up somewhere else by accidentally typing in command mode. While most times Vim will realize you are trying to type, sometimes it won’t, and you may end up somewhere new and unexplored.

    Additionally, “o” (lowercase O) will put you into insert mode but with a new line under the cursor position, while “O” (shift+O) will put you into insert mode but on a new line above the cursor position.

    Deleting information

    If we want to delete a whole line, the command is “dd” (two lowercase d’s), and “dw” (lowercase d and w) will delete from the cursor to the end of the current word.

    To delete from the cursor to the beginning of the current word use “db” (lowercase d and b).

    To delete from the cursor to the beginning of the line use “d0” (lowercase d and zero), and “d$” (lowercase d and $) will delete from the cursor to the end of the line.

    Notice how the w, b, 0, and $ are all the same characters used when moving around the file. That’s intentional. The lowercase d is basically telling Vim that you want to delete then the next character tells Vim what to delete.

    Now’s a good time to bring up another modifier. If you prefix a command with a number, it will perform that command that many times. So, for instance, “10dd” will delete the next 10 lines. This modifier also works for moving and many more actions, so keep it in mind.

    Copying and Pasting

    Technically, “dd” and its variants don’t just delete the information, they actually perform a cut (copy to clipboard and delete). So, if you want to move a line somewhere else, you can use dd to delete it and then you can paste it with “p”. Like “o” for insert, “p” (lowercase P) pastes the line below (after) the cursor while “P” (shift+P) pastes the line above (before) the cursor.

    Use “yy” (lowercase YY) to copy an entire line. The same modifiers we used with the delete/cut command apply here as well. Use “0″ (zero) to go to the beginning of the line, “$” to move to the end, and “w” and “b” for words.

    A Few Miscellaneous Useful Commands

    If you want to repeat the same command you just did, use the “.” (dot or period) command. It simply tell Vim to repeat the last action.

    • Undo using “:undo”
    • Save using “:w” (colon lowercase W)
    • Quit using “:q” (colon lowercase Q)

    The last two can be combined as “:wq” to save and quit at the same time.

    To quit without saving use “:q!” (colon lowercase Q exclamation point).

    Find and Replace

    This is the most common reason I use Vim – to search for something and replace it (usually on mass).

    • :s/{Search term}/{replace} (colon, lowercase S, forward slash, what to look for, forward slash, what to replace it with)

    Again, you can use regex here as well. This will replace the first instance it finds.

    Using :%s/{Search Term}/{Replace Term} will replace all the instances it finds. So be careful with this one.

    Now I will say there is more to the substitute command (:s):

    In practice it is :[range]s/{pattern}/{string}/[flags] [count] , but there are actually a good number of other options you can add. For instance, if you include /c, it will confirm with you before each substitution. I will leave it to you to explore this in more depth.

    In Parting

    Vim is a very powerful tool. Check out “:help {command}” to see more information for each command. But, with the simple information above, a new user can make their way around Vim and start learning it. Enjoy!

    Thanks for taking a look at this post, and I hope you’ll take a look at the next post in the Cool Tools series as well.