Cool Tools Series: Masscan for Penetration Testing
You saw us last with Nathan Anderson’s awesome MSFvenom tutorial. Moving on from there, I’m going back to network discovery tools that I find useful in my penetration tests. In this post, I’ll introduce masscan.
The Basics
Adam has blogged about using Nmap for discovery. Another tool for finding open ports is masscan. Masscan doesn’t give as much info as Nmap but can be great when scanning large networks or just looking for open ports, as it can go much faster. Masscan also comes with Kali, and you can read their write-up here.
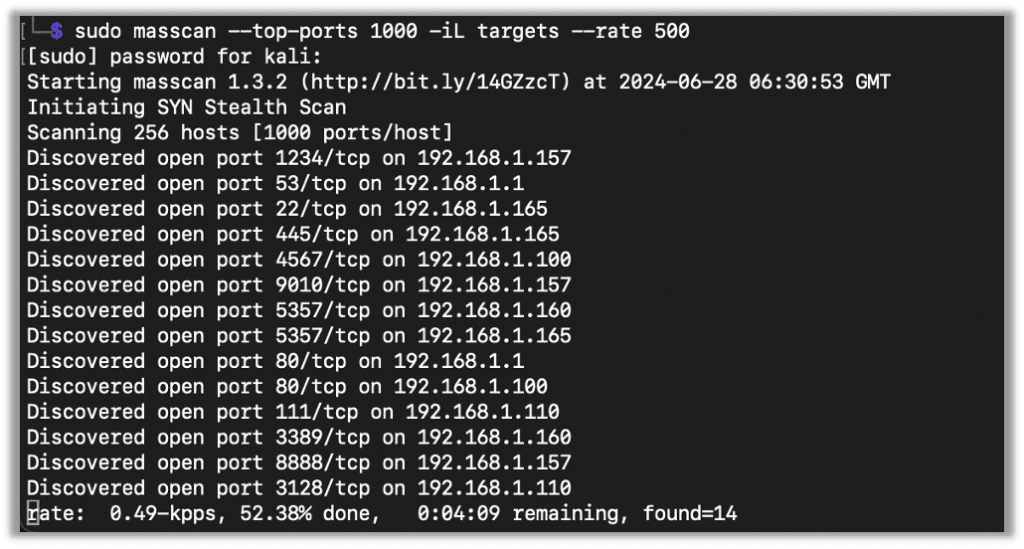
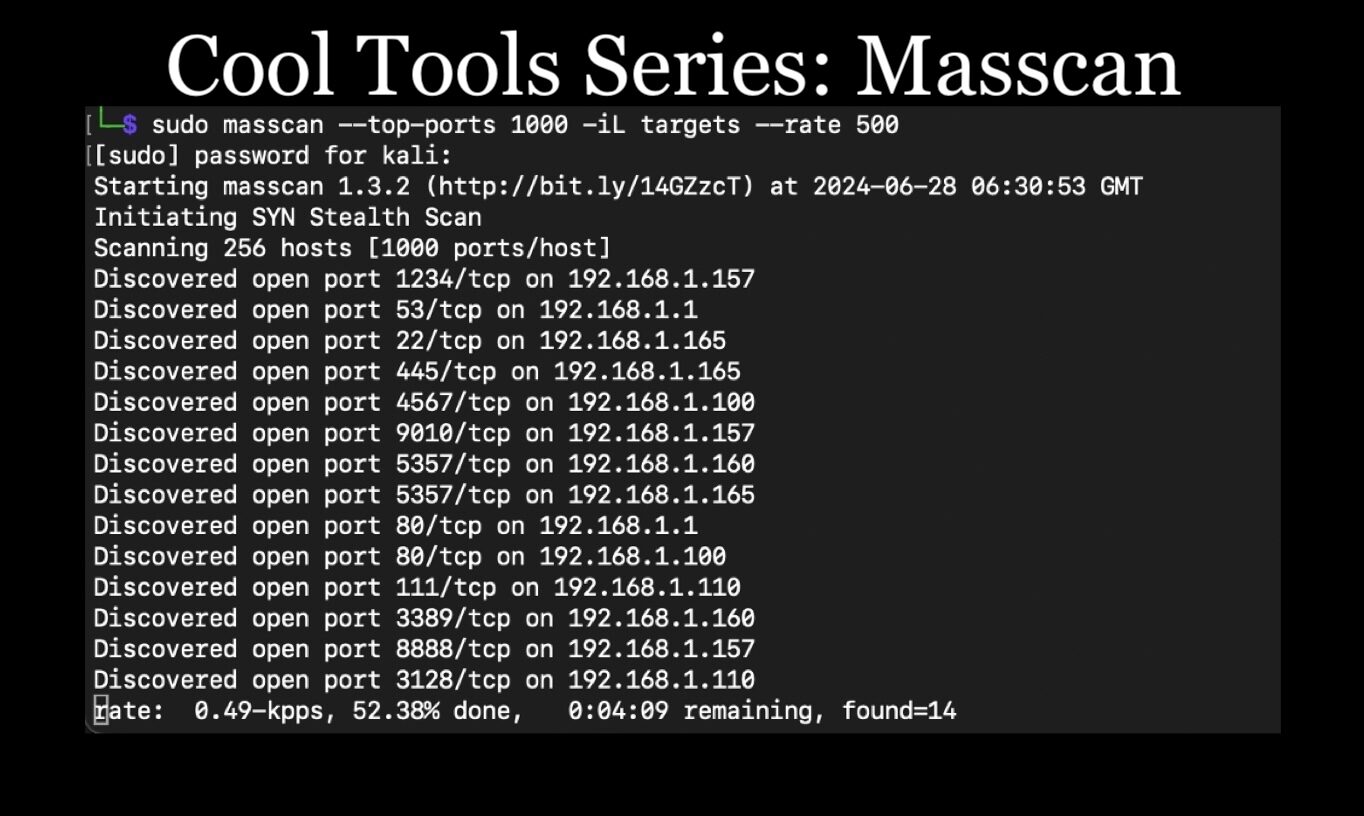
I normally use masscan when given a large target list. Masscan does need to be run as root, so make sure to switch to the root user or use sudo. My normal use of masscan looks something like this:
masscan --top-ports 1000 -iL targets --rate 500
Basically, this command takes the top 1000 TCP ports and scans all the targets from the host file. The target file can be a list of networks on each line. If you’re scanning just one network, you can also omit the -iL and simply pass that network on the command line.
Useful Tips
I will show a few examples using my local little network, so not too exciting, but a good look at how to use the tool.
By examining the saved config file, we can see the top 1000 ports it scans:

There are times when I want to save the output of a masscan to a file for more processing. There are a few different formats that masscan provides: binary, XML, grepable, JSON, and list. The flags are -oB, -oX, -oG, -oJ, -oL respectively. When using the flag you just pass the filename and masscan will output in that format to the file. I normally use the list format (-oL).
If, for some reason, you need to stop an ongoing scan, you can Control + C, and masscan will pause. It will then write a config file called paused.conf, wait for 10 seconds, and then close. You can then resume the scan with –resume.

You can also modify the paused.conf file to change settings. For example, I changed the scan rate here and started the scan back up. Notice it’s now scanning at 250 packets per second instead of the original 500.

You can also write config files and have masscan run those by designating them with the -c argument, but I don’t normally do that.
You can specify which ports to scan with -p. If I’m not scanning just the top 1000 ports, then I normally scan all of them using -p 1-65535. But, if you want to know where all the https services on port 443 are or the Kerberos services on port 88 are, you can specify just those ports with -p.
Here’s an example where I’m looking for all services on ports 20-23, 443, and 80. I’m also saving these to a list:

Here you can see the output of the list:

I normally just end up grabbing the host and port with Awk. To get a list of host:ports you can use the following.
awk -F" " '{print $4":"$3}' < me.outMaybe we will take a look at Awk and Vi at some point in a future Cool Tools post, but this gives you an idea of how useful they are.
There will be extraneous lines in the beginning and end, but those are easily removed.

There is also a way to exclude hosts and networks from a scan. Say I don’t want to scan 192.168.1.151. I can either use the –exclude flag, or, if I have a list, use the –excludefile flag.
Here we do the same scan as before, but this time I pass an exclude file with 192.168.1.151 in it, and we can see that IP doesn’t show up in the results.

You can scan UDP services as well with -pU. Here I’m scanning for just 53 as an example, but listing ports works just the same as with TCP.

Conclusion
Masscan can do much more than what I describe above, but this is a good primer. I hope you’ve enjoyed this look at masscan.
Take a look at the next post in the Cool Tool Series on Vim as well!


