

Written by Jason Taylor
Securing sensitive data is a critical goal for every organization. It’s important to keep in mind that data exfiltration is not exclusive to cyber threats. Sometimes employees can be the threat actor when they try to transfer an organization’s data externally, whether they mean to use it for harm or not.
Whether the attackers are an advanced cybercrime gang or an employee trying to exfiltrate contact details and steal clients away, one effective method of getting data outside of an organization is through DNS exfiltration.
In this two-part blog we’ll walk through the process of setting up a domain for DNS exfiltration purposes and showcasing how attackers can use the DNS system to their advantage when getting sensitive information outside of an organization. As always, this tutorial is for penetration testers and cybersecurity professionals. Attempting these attacks without a legal contract allowing them, is illegal. Let’s use our powers for good to show the risks and how to protect against them.
What DNS Exfiltration Means
The domain name system (DNS) is responsible for turning human readable domain names into IP addresses behind the scenes. This involves a client requesting an IP address for a specific domain name, such as raxis.com, from their DNS server. The DNS server is often a router, gateway, or domain controller in an enterprise setting. These servers respond to queries for both internal domains and external domains on the Internet.
When a DNS server doesn’t have the IP address of a domain in its local cache, it turns to the global DNS network to find out who it needs to ask. For a domain such as raxis.com, the DNS server would first query the global resolver asking who is responsible for com. It would then ask who is responsible for raxis.com, and it would receive the name server that is registered. The DNS server then queries that name server for the IP address of raxis.com and would receive the appropriate IP(s). This response would then be sent back to the original client that made the request. The DNS server would cache this response for a period so that subsequent lookups do not require asking the various global DNS servers repeatedly.
Attackers can use this ubiquitous system to exfiltrate data from organizations through control of a domain name and the associated name server. An attacker, or insider threat, with access to an internal system can encode data and request the IP address of <encoded_data>.example.com. The organization’s DNS server would request the IP of that domain and ultimately be sending the encoded data directly to an attacker-controlled server. This server can then respond with a real or fake IP address and wait for more encoded data. Once all of the data is received, the attacker can decode the data, and the data exfiltration would be complete.
DNS exfiltration can be difficult to protect against. Most methods of catching DNS exfiltration involve detecting suspicious domain name lookups, large DNS queries, or repeated requests for a specific domain name. All of these methods are reactionary, as the attacker has likely already received the encoded data by the time the detection systems have flagged the traffic as malicious.
DNS exfiltration tools can take countermeasures such as randomized domains, randomized response IPs, and chunking the data to be sent into smaller sections, as well as delaying how often it requests the domains. These methods can help an attacker bypass DNS exfiltration detection techniques.
DNS Exfiltration Setup
To begin with we need a suitable domain name under our control. We will be using Porkbun.com for our domain name registrar and Linode.com for our server infrastructure.
Domain Registration
The first step is purchasing a domain name that we will use for exfiltration. To minimize our chances of being detected, we want to ensure our domain has some history before we start using it. For my testing site, I setup a simple website. Submitting the site for categorization at Cisco Talos or OpenDNS is also a good idea.

With our domain name purchased, let’s move on to the server setup.
Server Setup
This server will act as the authoritative name server for our domain. We will be using a Linode.com Nanode instance for $5 per month, which is plenty for our purposes. We start by creating a new Nanode instance using Kali Linux for the operating system.
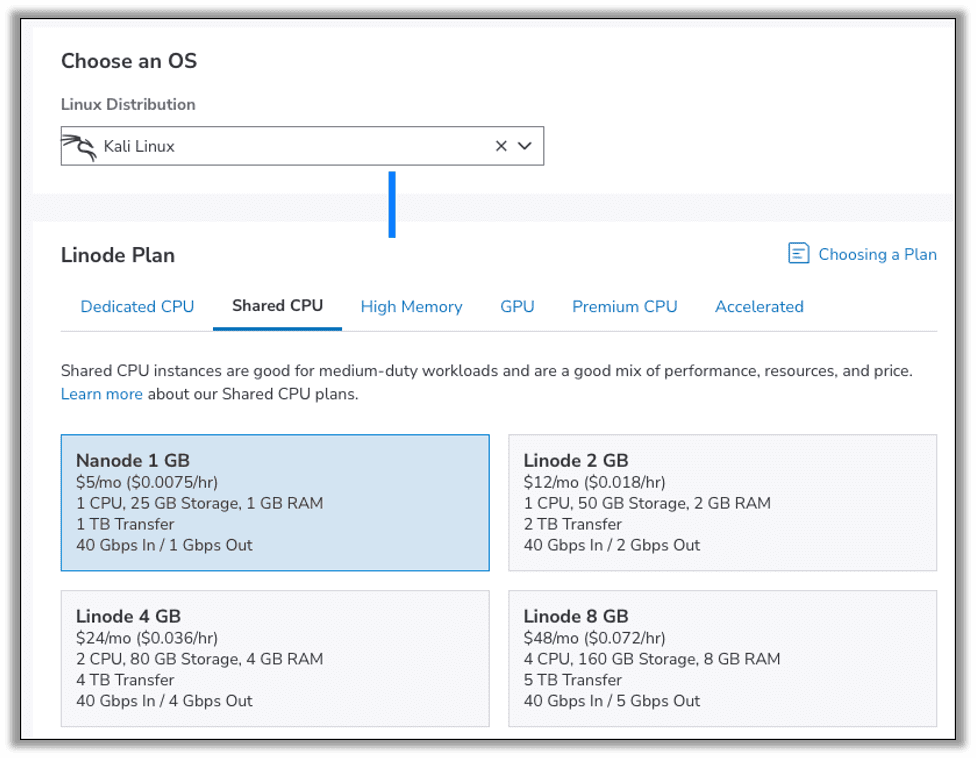
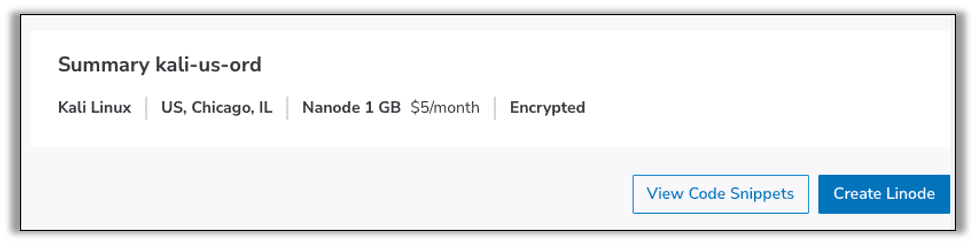
During creation ensure you enter a strong root password and optionally enable any SSH keys if you prefer to authenticate via SSH keys. When finished click Create Linode to get your instance online.
While your instance is being provisioned, you will get your public IP address. Take note of this address, as we will be entering it in quite a few places going forward.
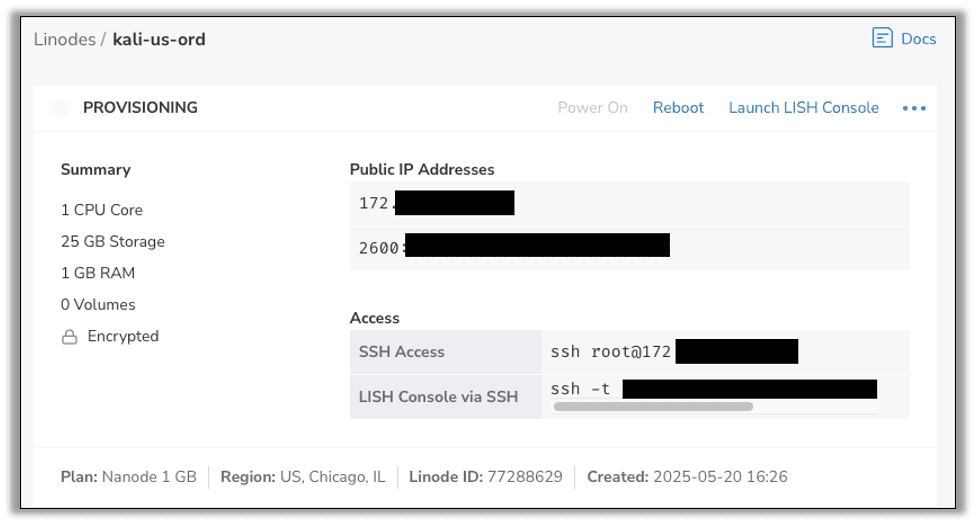
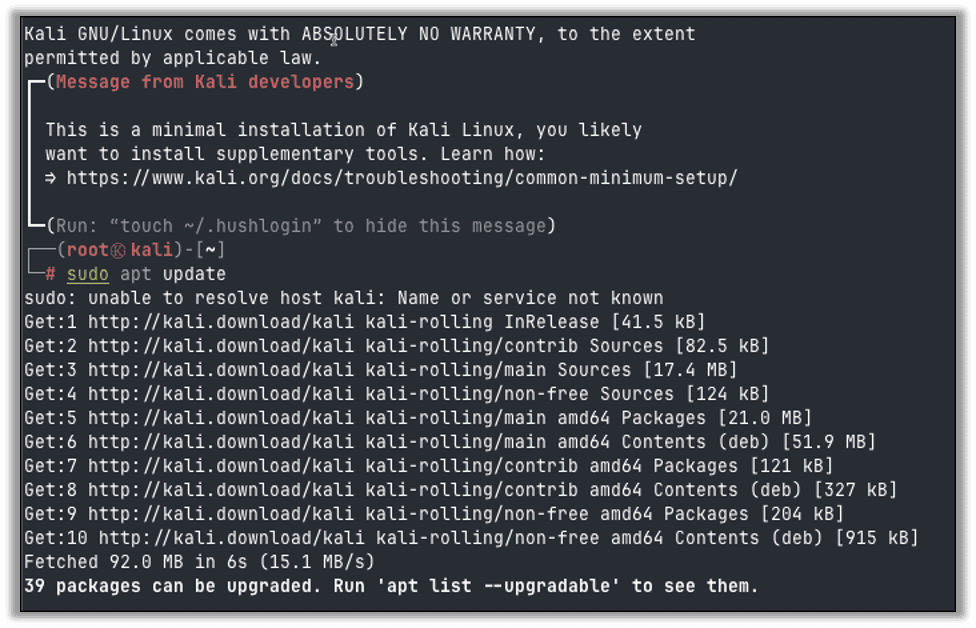
Once the instance has started, SSH into your new server and run apt update to update your repository.
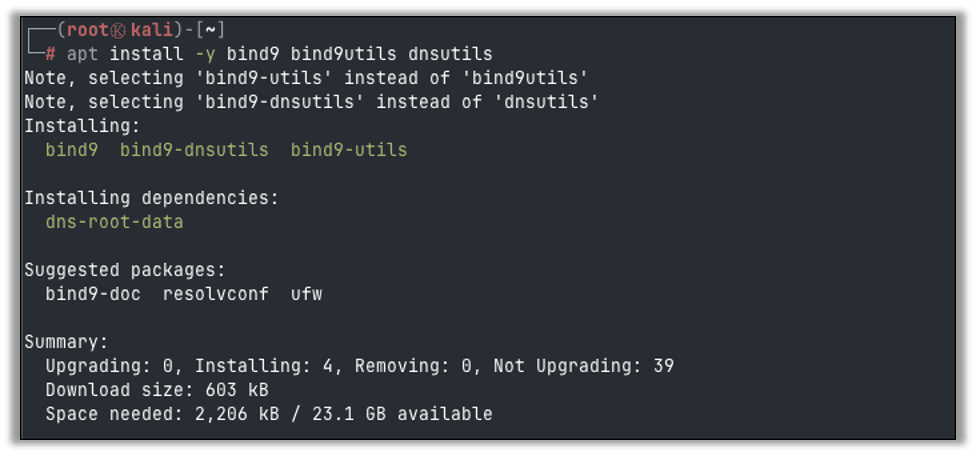
Install BIND9 and associated utilities with apt install -y bind9 bind9utils dnsutils.
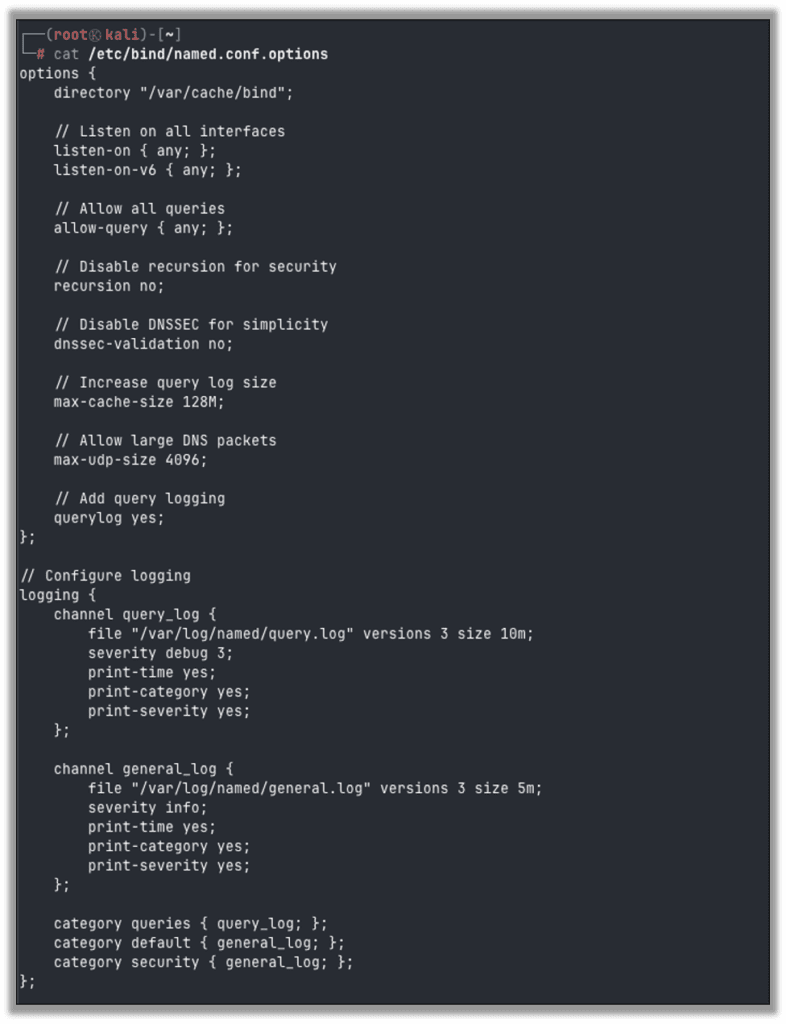
Edit the BIND options configuration file so that it will log queries to a file. Replace the contents of /etc/bind/named.conf.options with the following code.
options {
    directory "/var/cache/bind";

    // Listen on all interfaces
    listen-on { any; };
    listen-on-v6 { any; };

    // Allow all queries
    allow-query { any; };

    // Disable recursion for security
    recursion no;

    // Disable DNSSEC for simplicity
    dnssec-validation no;

    // Increase query log size
    max-cache-size 128M;

    // Allow large DNS packets
    max-udp-size 4096;

    // Add query logging
    querylog yes;
};

// Configure logging
logging {
    channel query_log {
        file "/var/log/named/query.log" versions 3 size 10m;
        severity debug 3;
        print-time yes;
        print-category yes;
        print-severity yes;
    };

    channel general_log {
        file "/var/log/named/general.log" versions 3 size 5m;
        severity info;
        print-time yes;
        print-category yes;
        print-severity yes;
    };

    category queries { query_log; };
    category default { general_log; };
    category security { general_log; };
};
Create the log directory referenced in the config file above, and set permissions to allow the bind user access:
mkdir -p /var/log/named
chown bind:bind /var/log/named
chmod 775 /var/log/named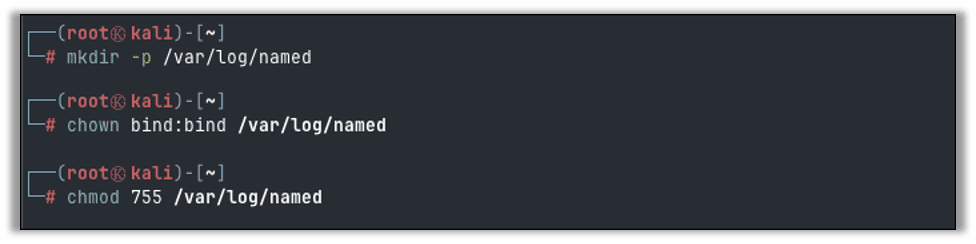
Next, we will configure a zone file for our domain name. Edit the local configuration at /etc/bind/named.conf.local and add the following content using your own domain:
zone "example.com" {
    type master;
    file "/etc/bind/zones/db.example.com";
    allow-transfer { none; };
    allow-update { none; };
};
Create the zones directory referenced above with mkdir -p /etc/bind/zones and then create the file /etc/bind/zones/db.example.com with the following content, again, using your own domain:
$TTL    86400
@       IN      SOA     ns.example.com. admin.example.com. (
                        2025052001      ; Serial
                        3600            ; Refresh
                        1800            ; Retry
                        604800          ; Expire
                        86400 )         ; Negative Cache TTL
;
; Name servers
@       IN      NS      ns.example.com.

; A records for name servers
ns     IN      A       172.###.###.###     ; The public IP of this server

; Main domain records
@       IN      A       172.###.###.###     ; The public IP of this server

; Wildcard record for catching all subdomains
*       IN      A       172.###.###.###     ; The public IP of this server
Check your configuration for the domain, and, if all is well, go ahead and restart the named service.

Confirm the server is working by querying the domain with dig @localhost <domain>. You should receive a response with your public IP as the associated IP and see the query in the log file.
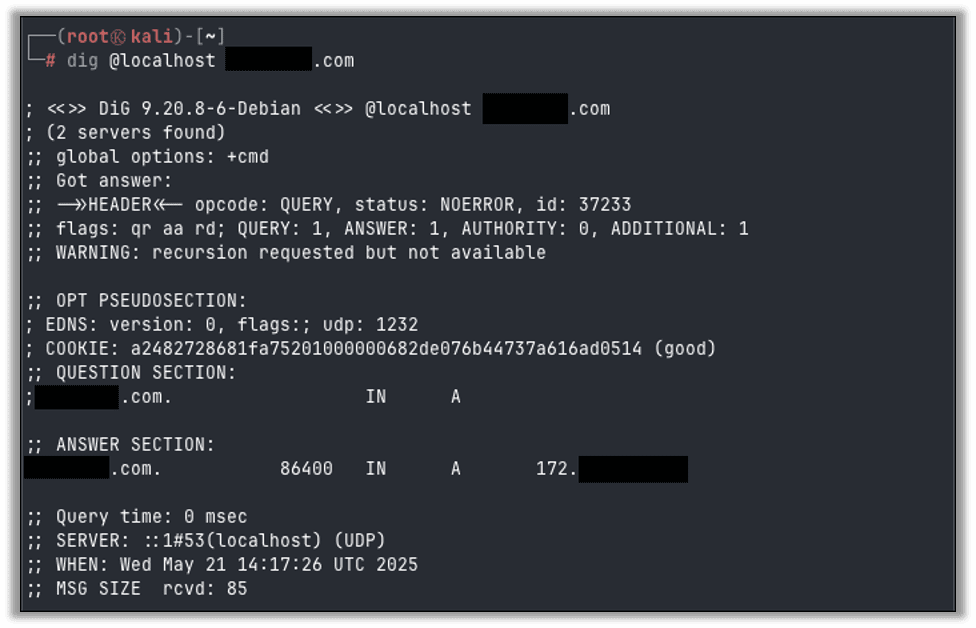
Your server is now the authoritative name server for your domain! The final setup step is to configure the domain at your registrar so other hosts on the Internet know where to go for DNS queries.
Domain Setup
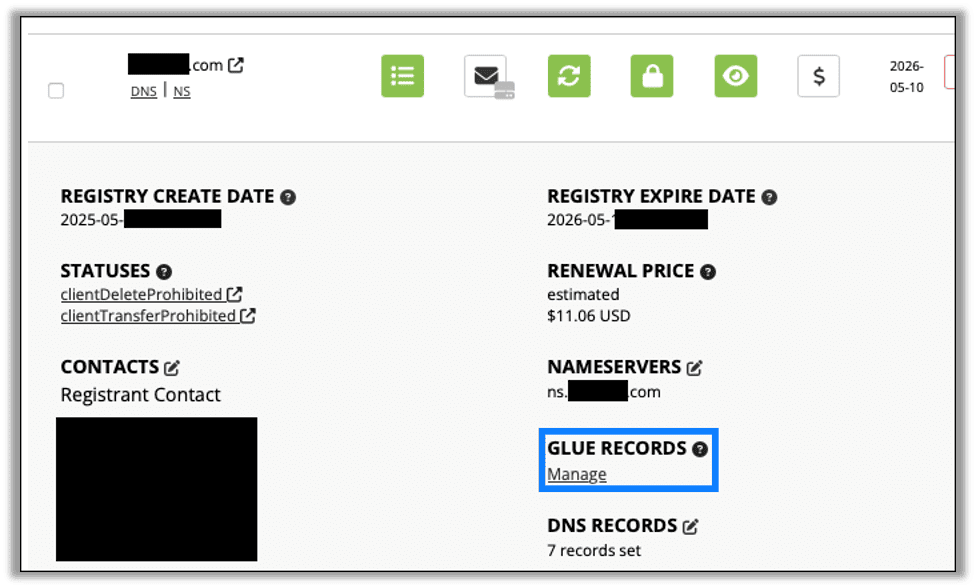
Next, we go back to our domain registrar and configure the domain. The first step is setting the glue record, which tells the registrar what IP address is responsible for resolving domain queries. In Porkbun, click the details dropdown for your domain and click Manage under Glue Records. This setting will likely be somewhere similar for other registrars.
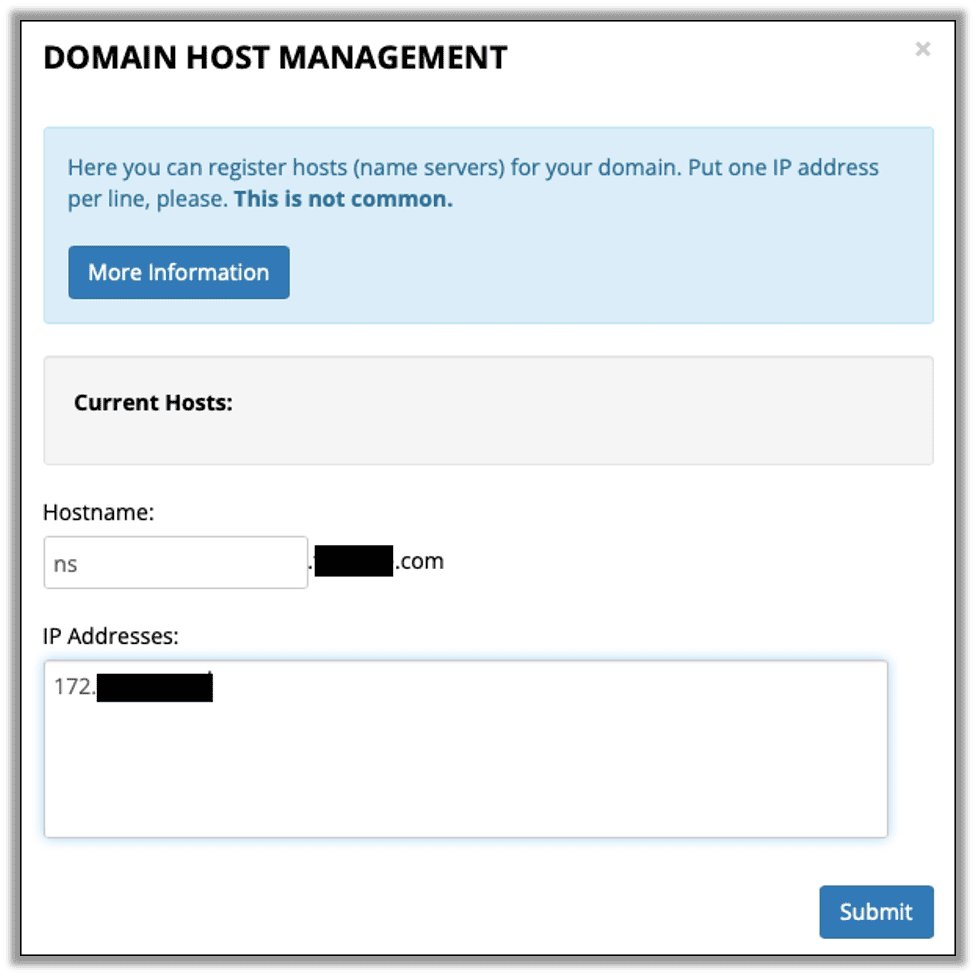
For the glue record, enter ns.<domain> for the hostname and the public IP from the Linode instance.
Next, edit the nameservers for the domain.
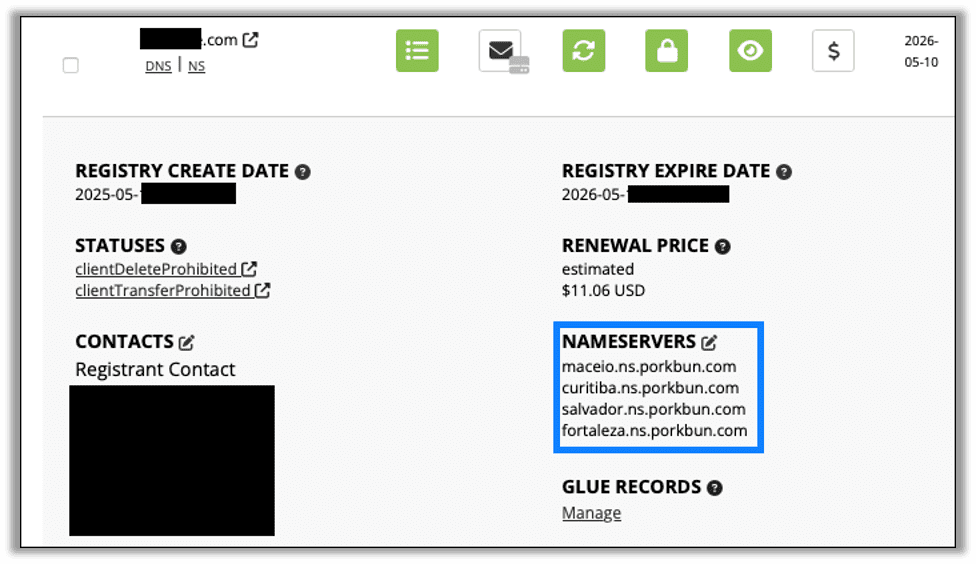
Enter the name server that matches the glue record; in this case it was ns.<domain>.
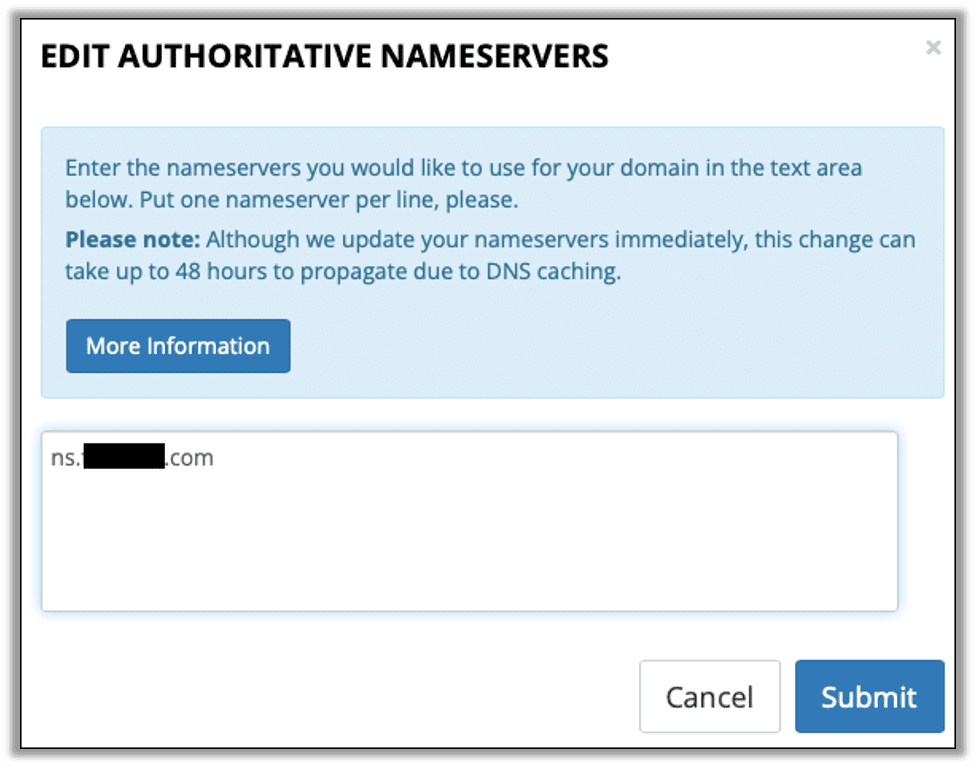
With that our domain setup is complete and any DNS servers looking to resolve our domain or any of its subdomains will be pointed to our server where the query will be logged.
See You Next Month
With everything in place, we will move on to see DNS exfiltration in action. In the final part of this series, I’ll be demonstrating both manual and tooling assisted methods of DNS exfiltration, so please check back on January 13th. In the meantime, check out Nathan Anderson’s recent blog on Croc for secure data exfiltration. If you’re interested to find out if your organization is at risk, Raxis internal network and cloud penetration testing is ready to test your systems.
Jason Taylor
Search The Exploit Blog
Blog Categories
- AI
- Careers
- Choosing a Penetration Testing Company
- Exploits
- How To
- In The News
- Injection Attacks
- Just For Fun
- Meet Our Team
- Mobile Apps
- Networks
- Password Cracking
- Patching
- Penetration Testing
- Phishing
- PTaaS
- Raxis In The Community
- Red Team
- Security Recommendations
- Social Engineering
- Tips For Everyone
- Web Apps
- What People Are Saying
- Wireless
