

Written by Jason Taylor
Updated 11/4/2025
Performing mobile application penetration tests on iOS/iPadOS applications requires full access to the underlying mobile operating system. This level of access is required for penetration testers to fully assess the security of a mobile application. During a mobile application test, we validate on-device data storage and network traffic against industry standard best practices.
Today we will walk through the process of preparing an iPad to perform mobile application penetration testing. Obtaining root, or administrator, access to an iPad or iPhone is called a jailbreak, as you are breaking out of the confined jail that Apple has imposed.
The jailbreak community has been in a cat-and-mouse game with Apple as they identify vulnerabilities that can be used to jailbreak and Apple patches those vulnerabilities out.
This guide originally showed how to jailbreak the iPad (7th generation) running iPadOS 18.3.2. In November 2025 I updated the information for iPadOS 18.7.1, which became the latest version of iPadOS for the 7th generation iPad, but I left previous information in case it is helpful after future updates.
Device Selection
The iPad 7 is the ideal candidate because the hardware is susceptible to the checkm8 exploit. This makes the device easy to jailbreak with the tool palera1n. Additionally, the iPad 7 supports iPadOS 18, which was released in 2024 and is still actively supported by Apple.
In addition to a suitable iPad, you need a USB-A to Lightning cable. This is very important, as USB-C to Lightning cables do not always work. If your PC doesn’t have a USB-A port you can use a USB-A to USB-C adapter with the USB-A to Lightning cable.
Note: Previously, you also needed a PC, and, if your iPad was not running version 18.3.2 you needed macOS to run Apple Configurator in order to supervise the device so you could control the update process.
Preparing the iPad
The first step is to get your hands on an iPad (7th generation). The device used in this guide was purchased used and can be found online at websites such as eBay and Gazelle.
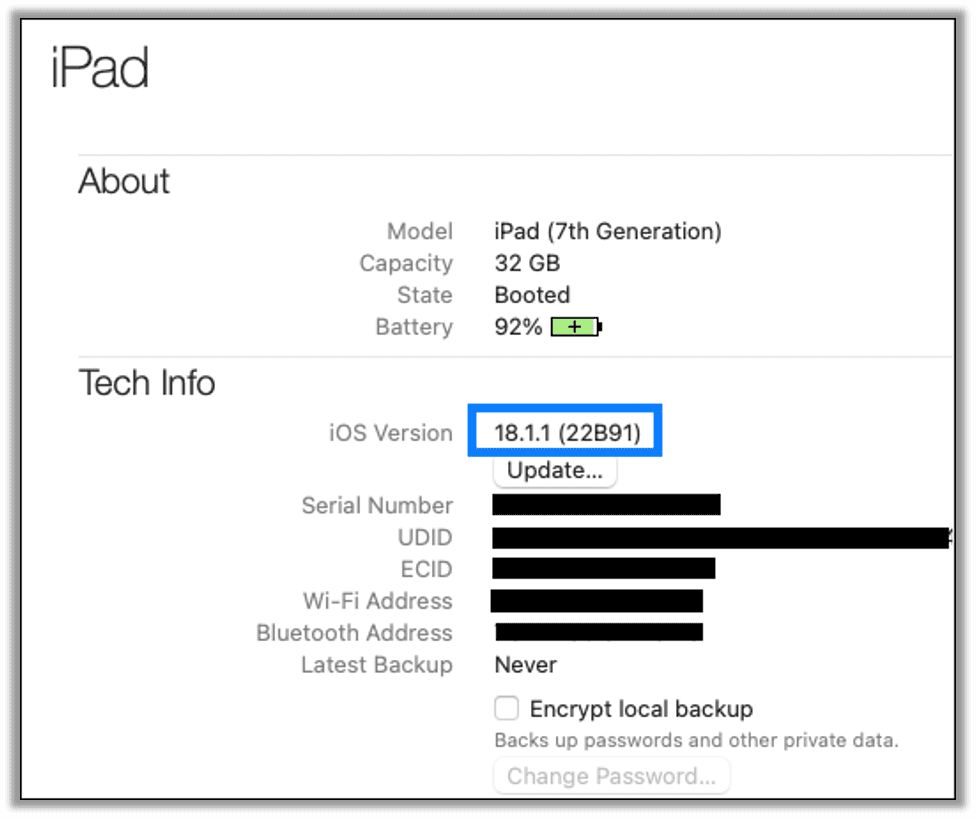
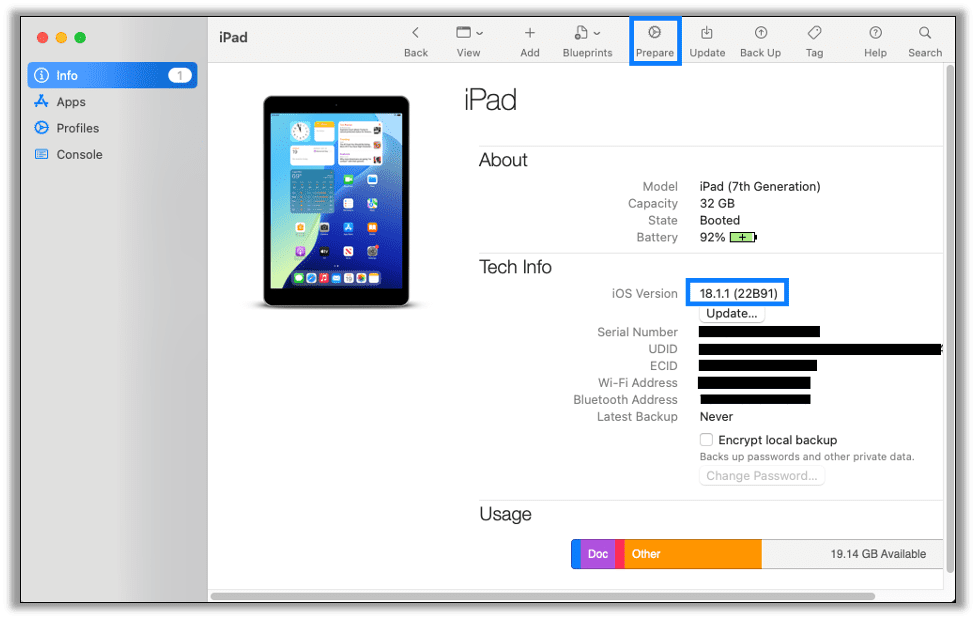
Once you have your iPad, confirm the version of iPadOS by going to Settings > General > About. Our iPad came with iPadOS 18.1.1.
Note: In the future, if you try to update the device as-is, it may try to update a new version of iPadOS which is currently not supported by the palera1n jailbreak.
Supervising the iPad
This section is no longer relevant as the Palera1n exploit supports the currently released iPadOS 18.7.1. Should the latest version of iPadOS no longer be supported by palera1n, the following section provides instructions on how to delay updates in order to update the iPad to a specific version. This is only possible if you can install a version of iPadOS that is older than what you want to upgrade to.
Apple allows organizations to control the version of iOS/iPadOS that devices upgrade to by delaying the available updates. This is intended to allow organizations to fully vet out new versions before allowing their employees to update their devices. We can take advantage of this by delaying the update to a specific number of days so that only our intended version is available in that time range.
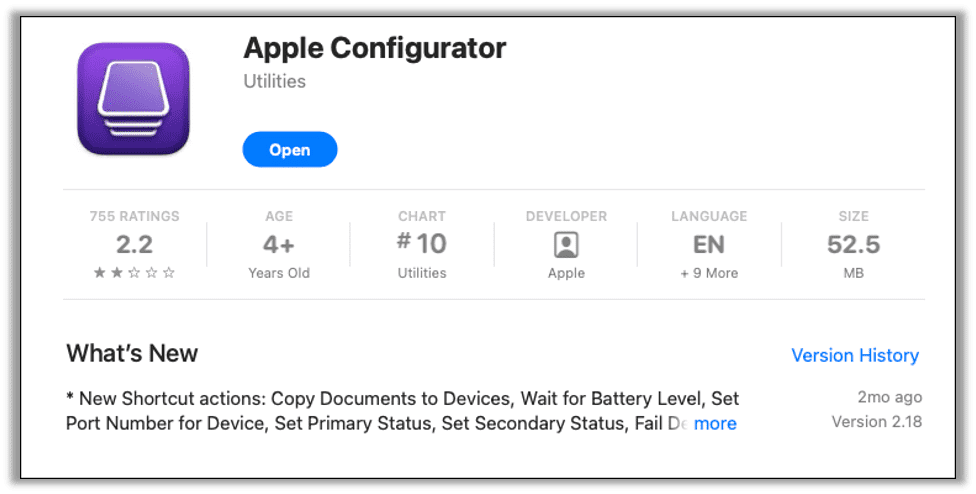
To begin we will need to install Apple Configurator from the App Store on macOS.
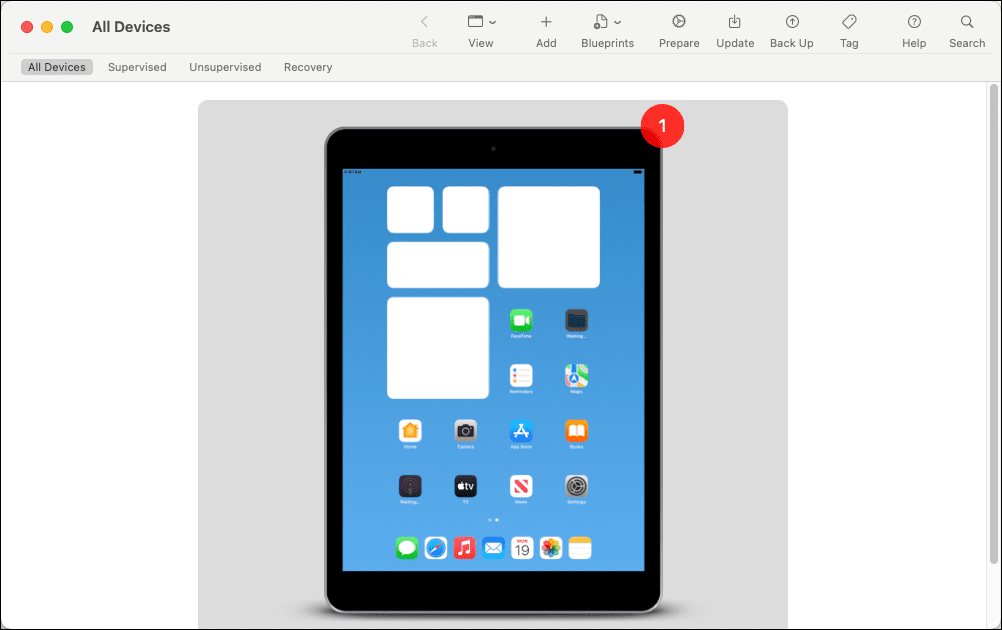
Launch Apple Configurator and plug in your iPad using a USB-A to Lightning cable (use a USB-C to USB-A adapter if needed.) Once identified the device shows up in the Apple Configurator devices list.
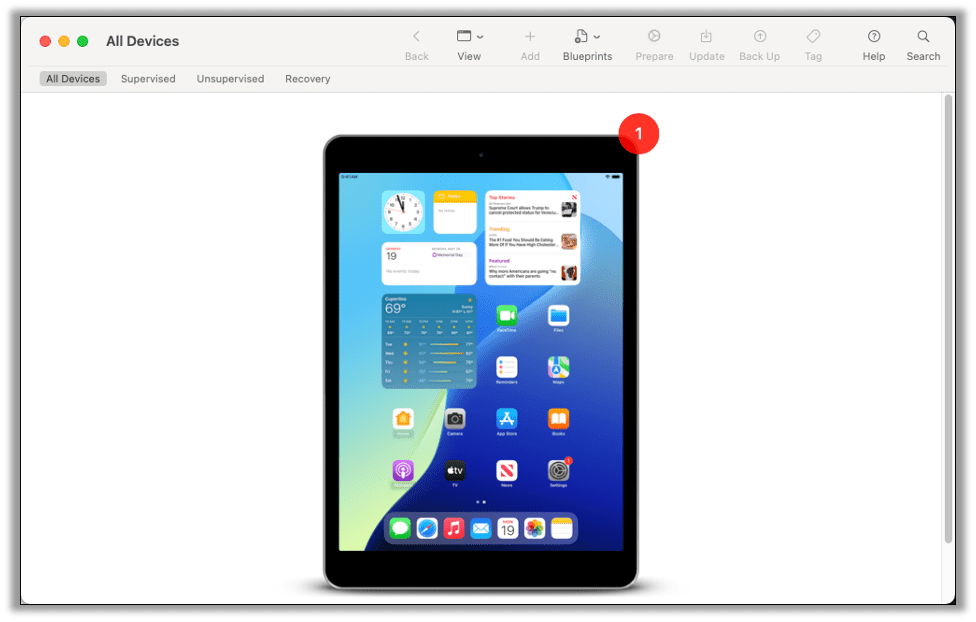
Double-clicking on the device’s tile will bring you to a details screen where you can also confirm the iPadOS version. Click on the Prepare icon to begin the process of supervising the device.
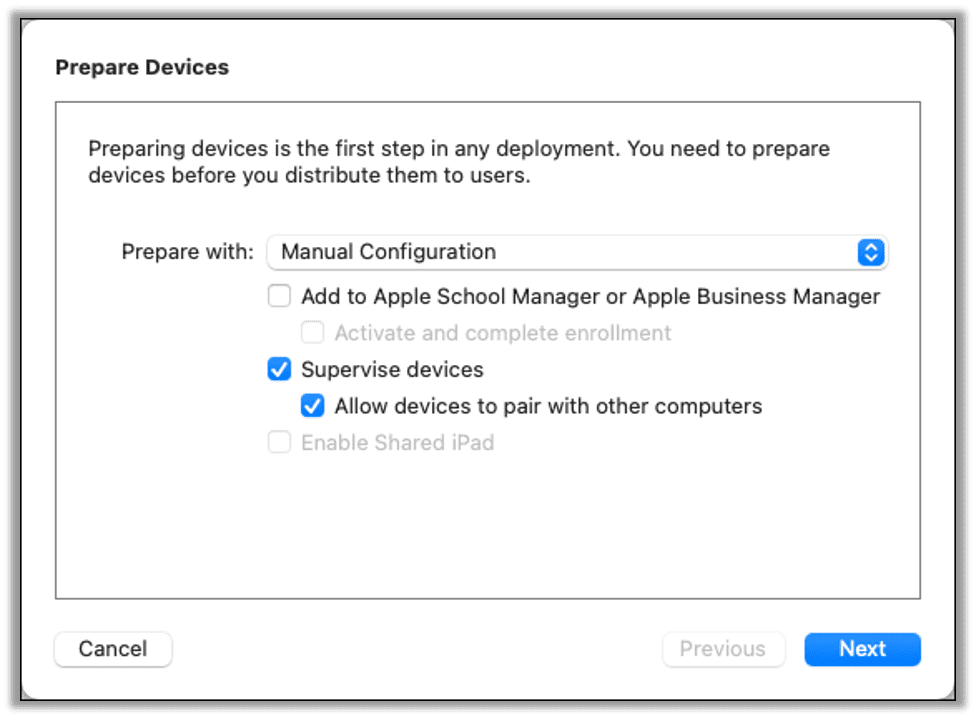
In the Prepare Devices dialog, ensure Supervise devices and Allow devices to pair with other computers are both checked, then click next.
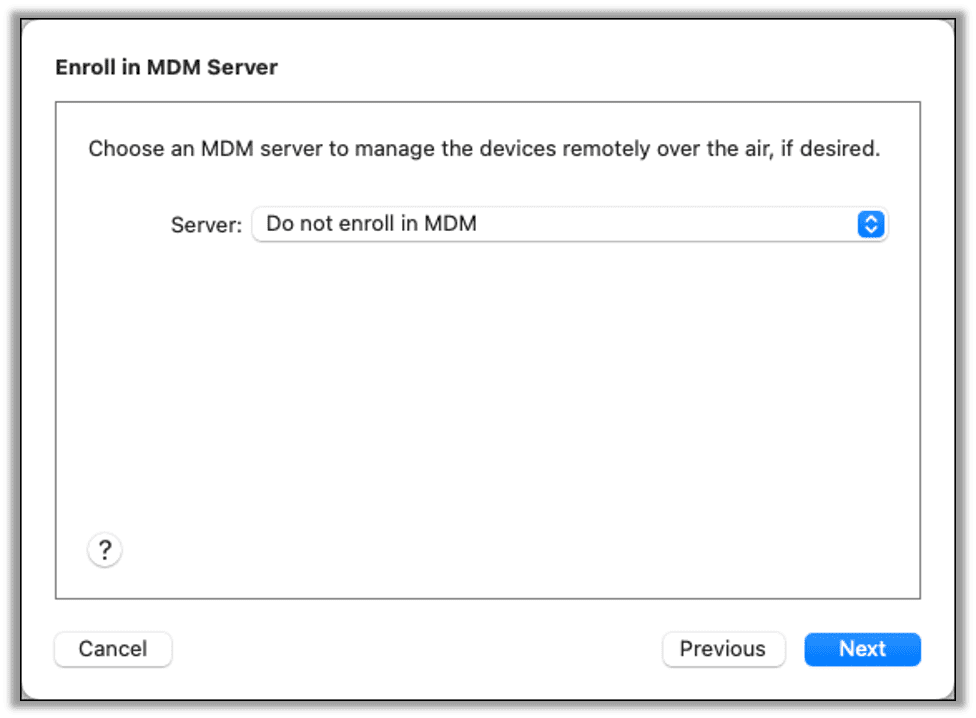
Set the MDM server to Do not enroll in MDM and click next.
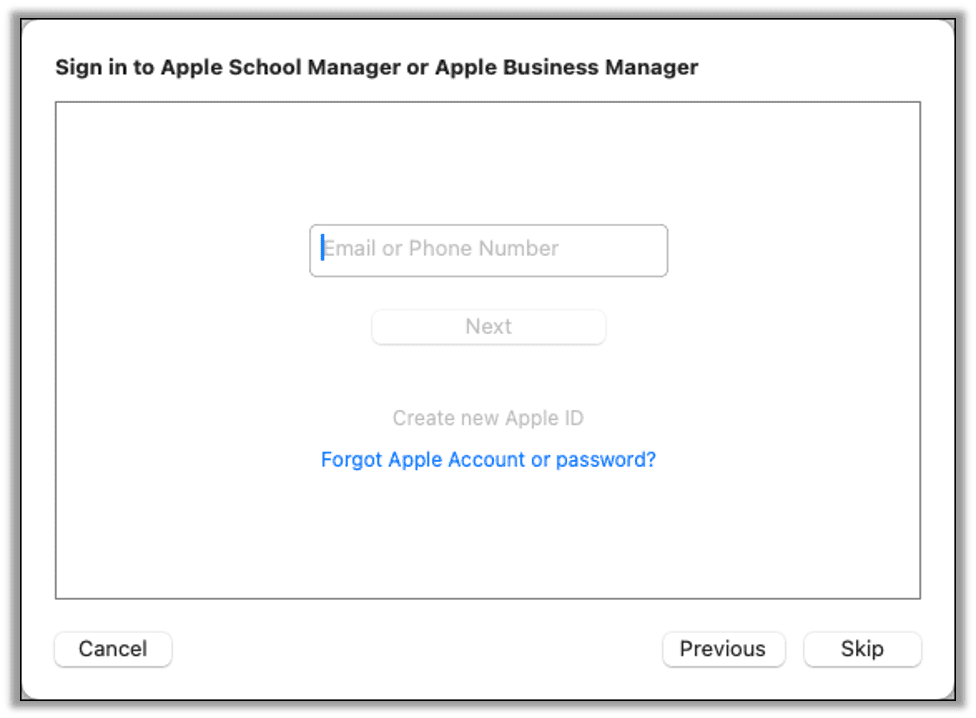
In the next screen that prompts you to sign in to Apple, click skip.
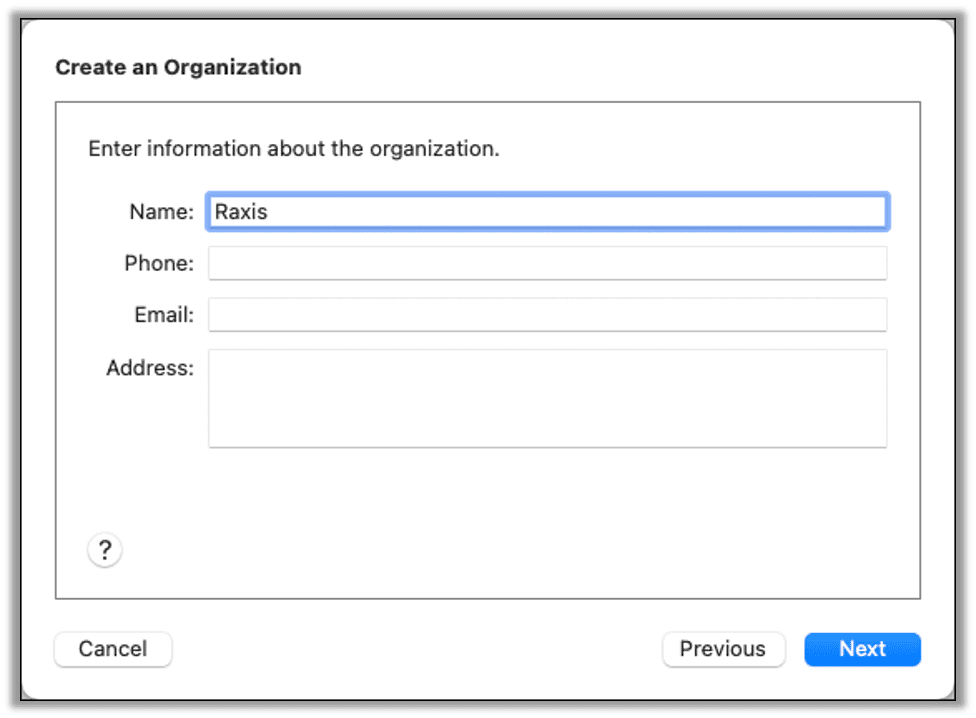
You are required to enter an organization name. You can leave all other fields empty. The company name is not validated and is only used to show on the iPad who is supervising the device. You can enter any name you wish.
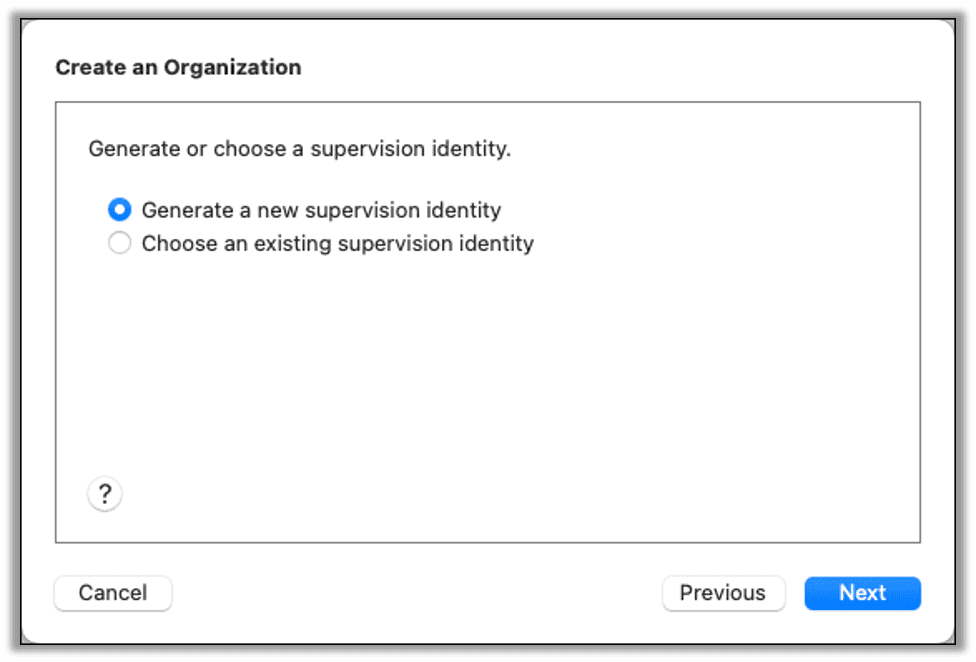
In the next screen select Generate a new supervision identity and click next.
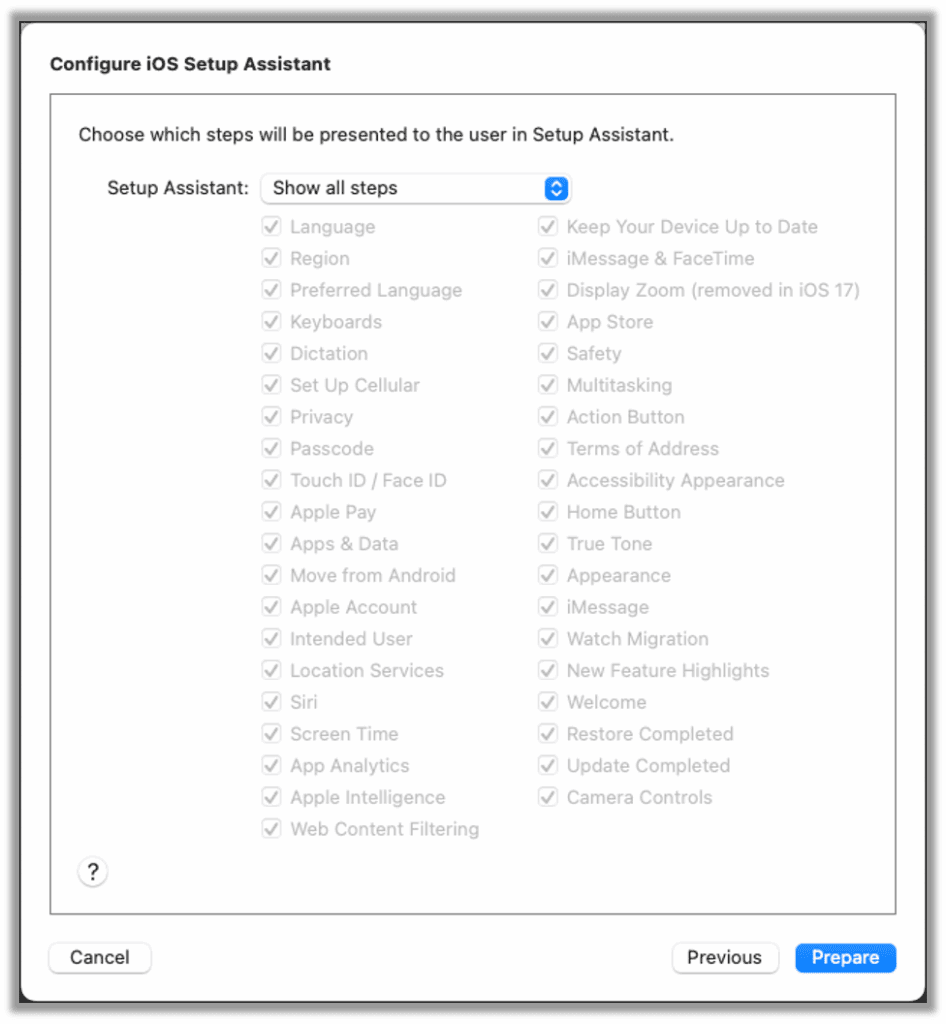
The next dialog allows you to choose which options appear during setup of the device. Select Show all steps so that all steps will be available. Click prepare to continue.
The device will now be prepared, and you may receive a popup saying that the device has already been prepared. This error is expected. Select the Erase option to reset your device. Ensure that any data on the device has been backed up, as this will factory reset the device.
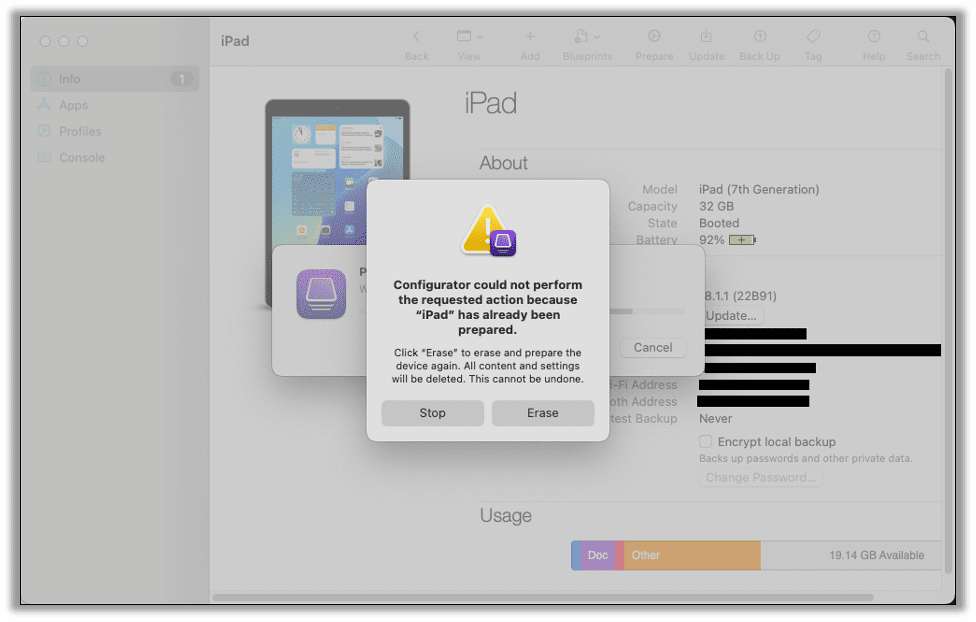
It may take a while to fully prepare the device. Let the program work and don’t interrupt the process on your computer or on the iPad.
Once everything is finished you will be returned to the All Devices screen, and your iPad will show up. The iPad itself will be at the Getting Started screen prompting you to continue with the setup process. Don’t setup the iPad, instead return to Apple Configurator to continue with the process.
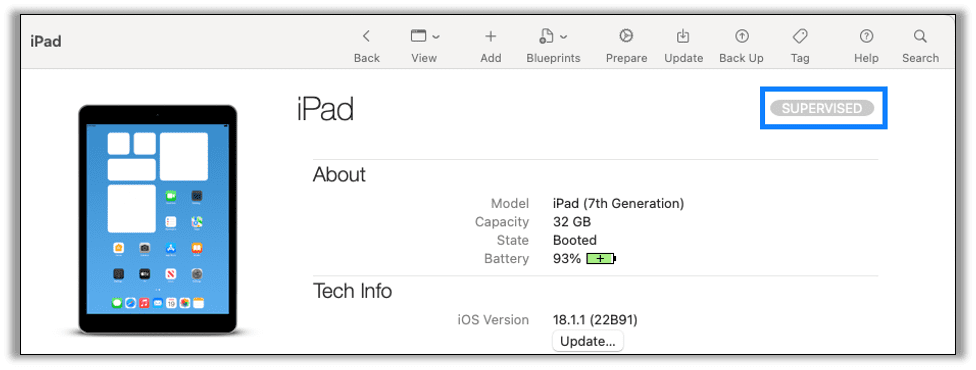
Double click on the iPad icon and you should see Supervised in the top right corner.
Delaying Over-the-Air Updates
The next step is to create a profile that restricts what updates we can install. First, we need to identify how many days we need to delay our updates for. Visit the Delayed OTAs GitHub site and find the appropriate profile. While you can use this profile directly, I opted to create my own.
Since we have an iPad 7 you will search for the section called iPadOS (devices supporting iPadOS 18) and download the profile for the version you want to upgrade to. We will be upgrading to 18.3.2.
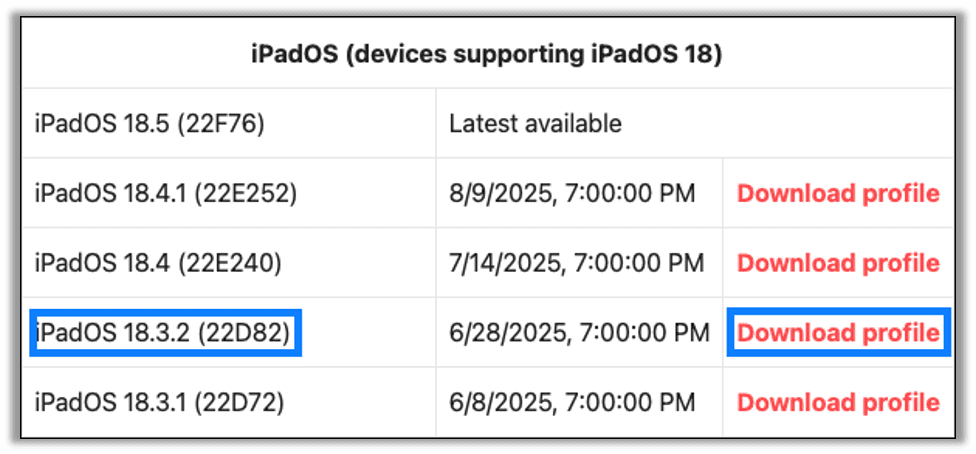
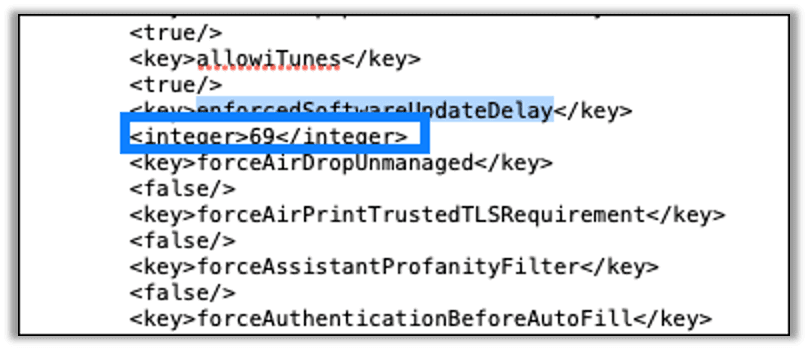
Open the profile that you downloaded (typically named delay.mobileconfig) in a text editor and look for the enforcedSoftwareUpdateDelay setting. At the time of writing, this value was 69.
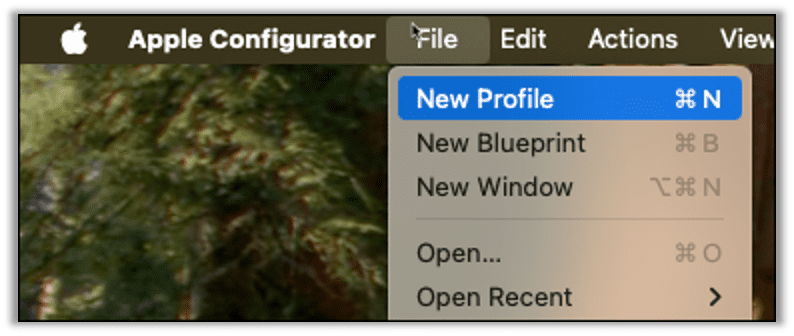
Within the Apple Configurator go to File > New Profile.
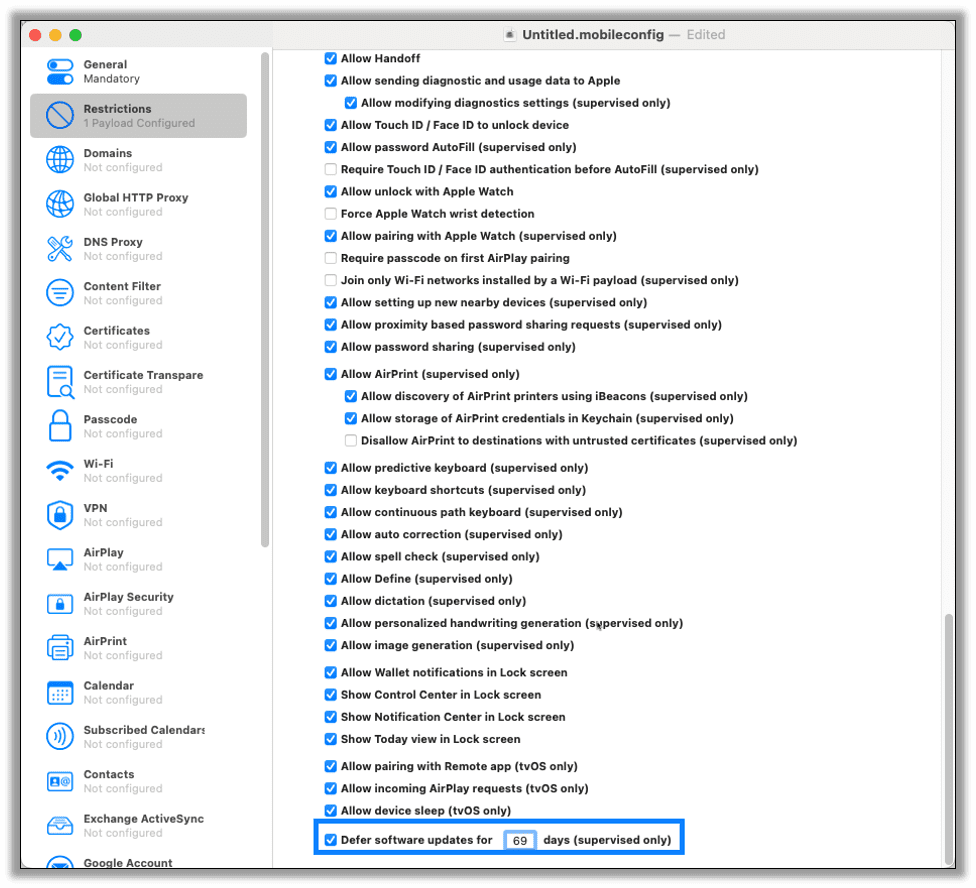
In the dialog go to the Restrictions tab and scroll to Defer software updates for __ days (supervised only) and set the value to the value you found above.
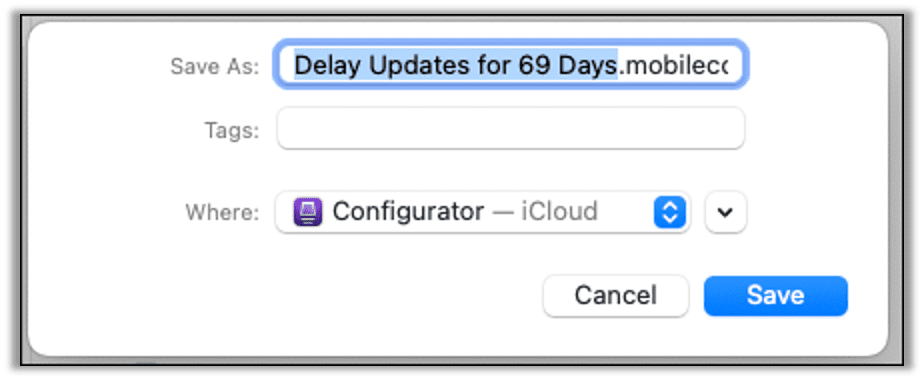
Save the profile to disk with an appropriate filename such as Delay Updates for 69 Days.mobileconfig.
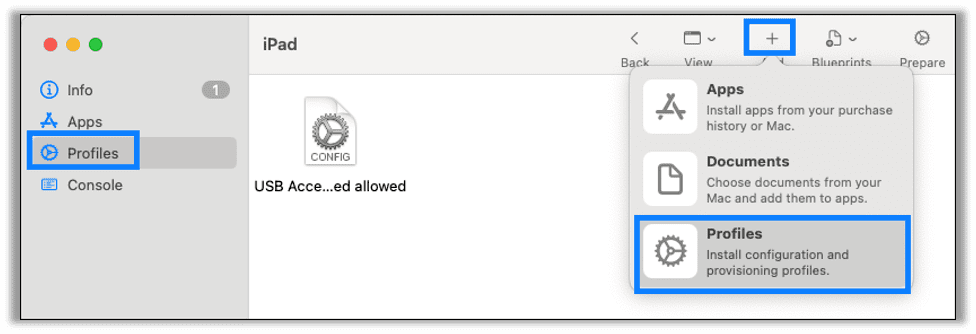
With the profile saved go back to Apple Configurator and click into your iPad. Go to the Profile tab on the sidebar and then click on the Add icon to add a profile.
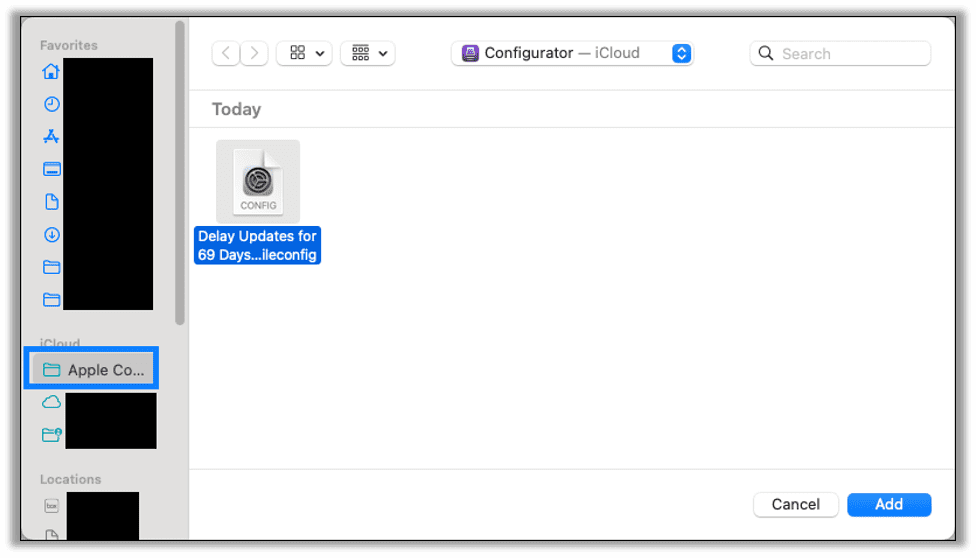
Find your saved configuration file and click Add.
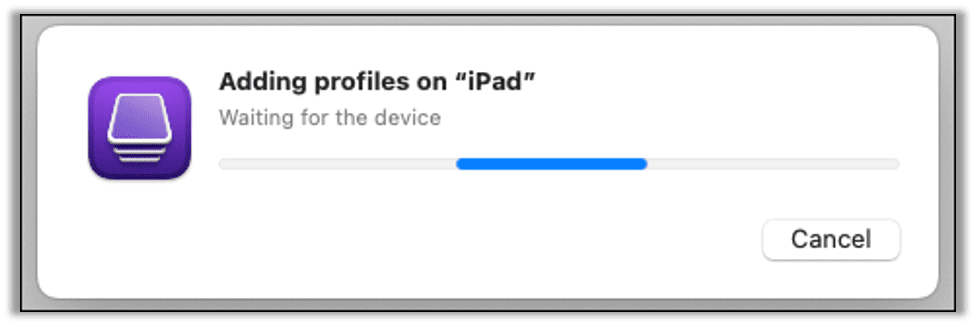
The profile will be added to the iPad.
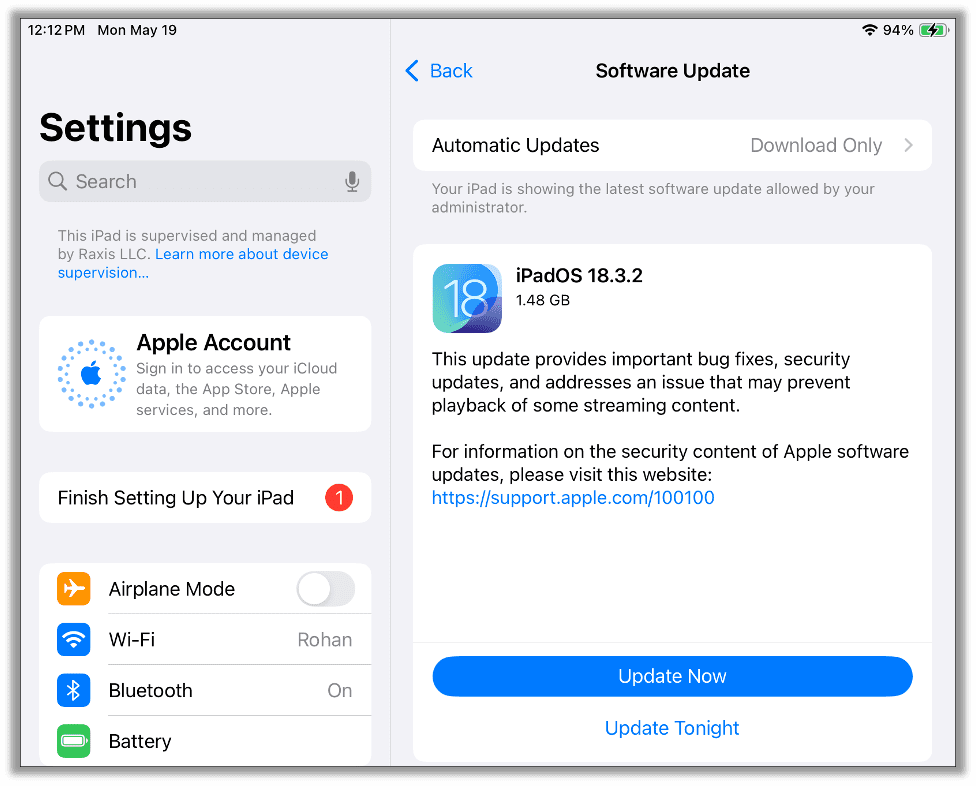
At this point your iPad will be reset and you can continue with the setup process on the iPad itself. If you see a prompt about a partial setup, you can tap Continue. Once the iPad is setup go to Settings > General > Software Update, and you should see the version that you wanted listed as available. In this instance we see iPadOS 18.3.2 and can tap Update Now to start the update process.
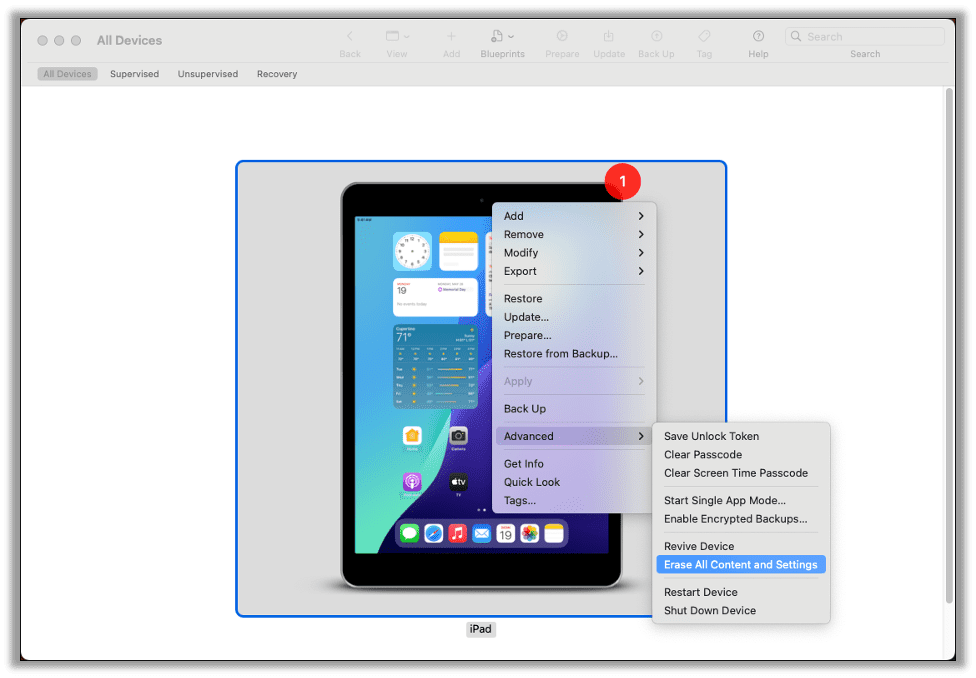
After the iPad updates, you will need to factory reset the device to get rid of the supervision state. This step is optional. You can do this either through the iPad itself in General > Transfer or Reset iPad and choose Erase All Content and Settings or from Apple Configurator with the device plugged in by right-clicking on the device and choosing Erase All Content and Settings.
After the iPad resets and you finish setup, you can confirm the device is no longer supervised through Apple Configurator or Settings on the iPad itself. You should no longer see Supervised in Apple Configurator or This iPad is supervised and managed by ____ in Settings.
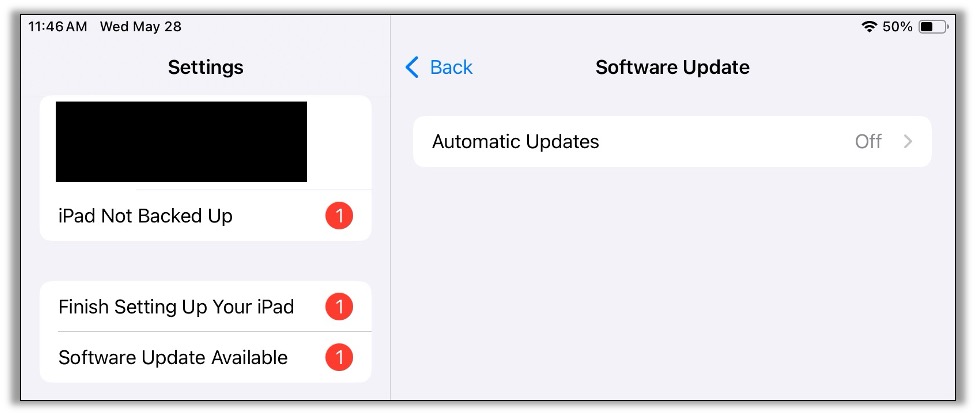
The final step is to go to Settings > Software Update and ensure Automatic Updates are set to Off. This will prevent the iPad from automatically updating and losing the jailbreak.
Downgrading iOS/iPadOS version
Note: This section is no longer needed in November 2025, but may be useful in the future.
It is generally impossible to downgrade after you have upgraded iOS or iPadOS. However, if the timing is right, you may be able to download to an official RC or Beta release. If that is the case, look for a Beta or RC release that is older than the version you want to go to. Install this version and then follow the above steps to supervise and delay the update to the version you want to use.
It is important to note that this is very time sensitive, as Apple is constantly removing signatures for older versions of iOS/iPadOS. As of the time of this writing, it is possible to downgrade to iPadOS 18.3 RC. From there you can then upgrade to 18.3.2 or another version.
You can download .ipsw files from either https://ipsw.me or https://ipsw.dev for beta releases. Please be careful when visiting these sites as the iPhone jailbreak scene is full of scams and predatory software vendors. It is generally considered “safe” to download .ipsw files as these files will only install on your iPhone or iPad if they are officially signed by Apple.
Performing the Jailbreak
With an iPad on a supported version, you will need to jailbreak every time the iPad restarts or powers off. Thankfully the process is quick and easy with palera1n.
First, download the latest version of palera1n from their GitHub site. Their official site is https://palera.in, but their GitHub site is more trustworthy. Again, use caution when using these sites.
For the below guide, version 2.0.2 was the latest version, but this did not support iPadOS 18.4+. Since initial publication of this blog palera1n version 2.2.1 has been released which has been tested and supports up to iPadOS 18.7.1.
Plug your iPad into your computer with a USB-A to Lighting cable. It is important that you use a USB-A cable, as USB-C to Lightning cables do not always work. If needed, use a USB-C to USB-A adapter.
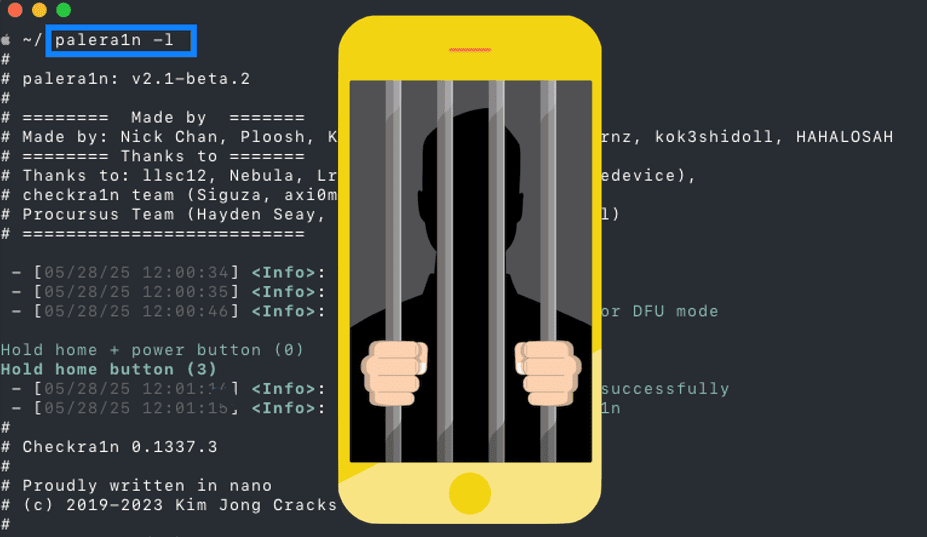
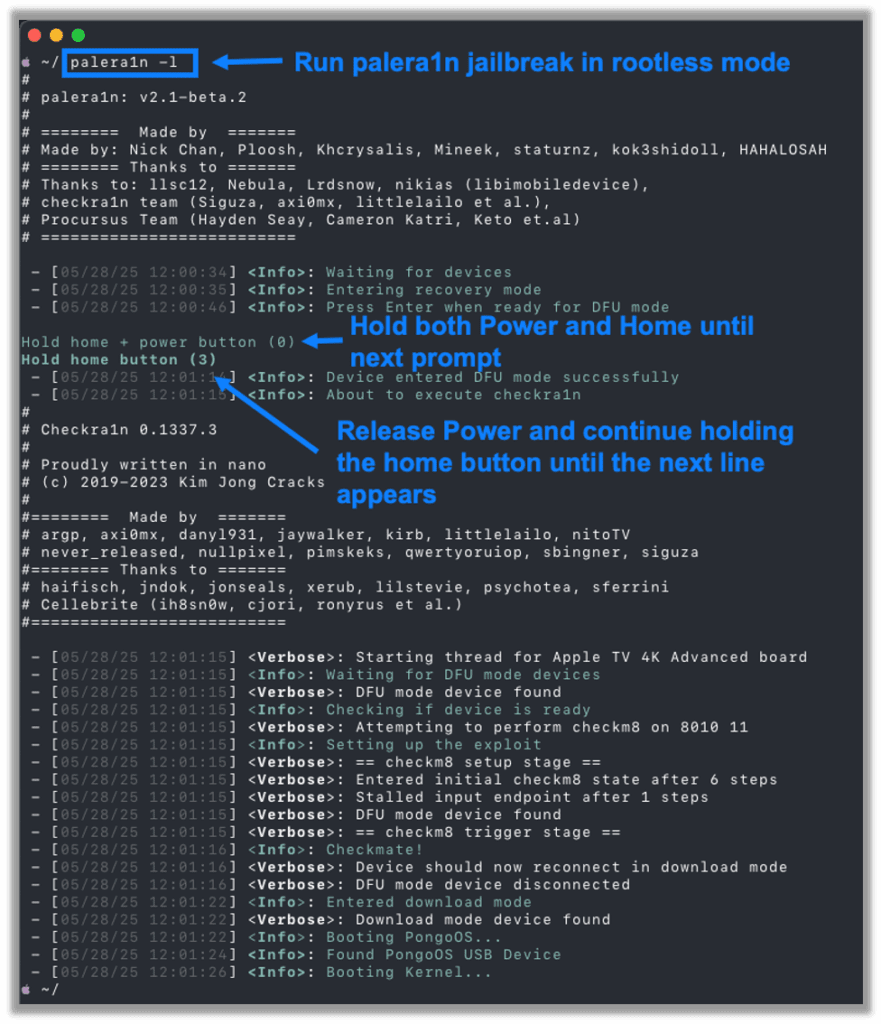
With the iPad plugged in, run the following command to start a rootless jailbreak:
palera1n -lThis version of iPadOS does not support a rootful jailbreak. This will reboot your iPad into Device Firmware Update (DFU) mode, and, once the iPad is ready, you will be prompted to press enter to continue.
During this process you will need to hold down the Power and Home buttons for a few seconds and then release the Power button while continuing to hold Home until prompted. Follow the prompts on your terminal.
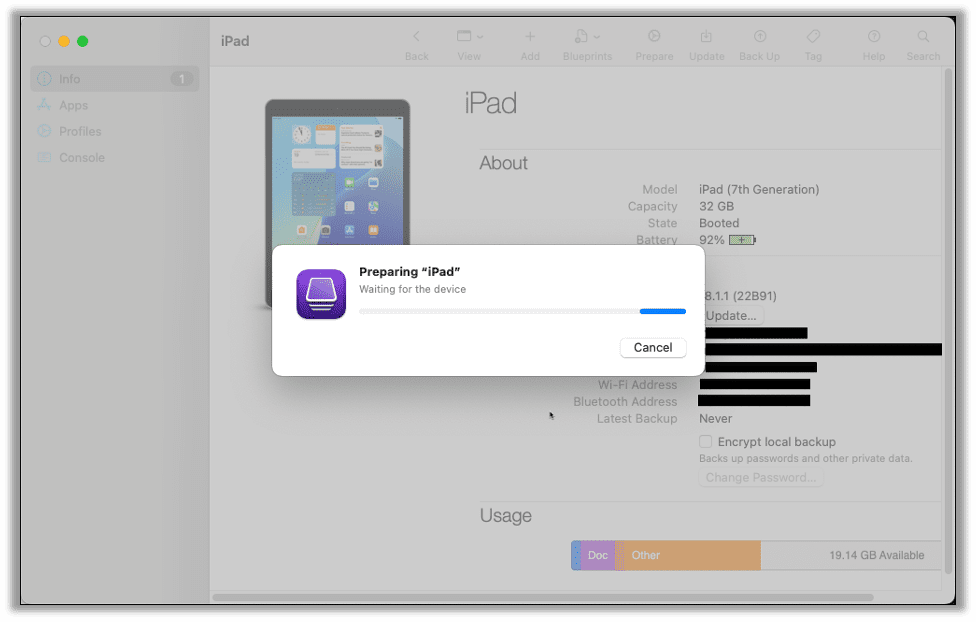
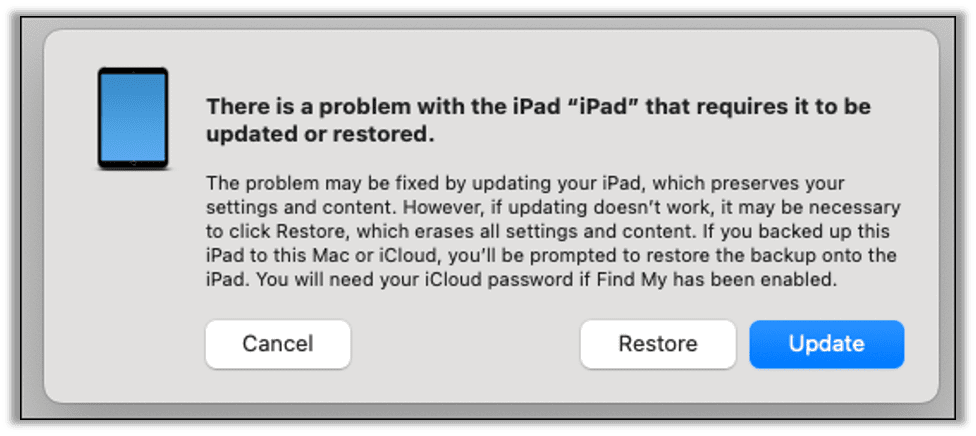
On macOS you may get the following popup during this process; just ignore this window. You can click Cancel or just ignore it and return to the terminal window to continue with the jailbreak.
You may encounter this popup multiple times during the jailbreak.
Next Steps
Congratulations, you now have a jailbroken iPad on iPadOS 18! From here you can go into the palera1n application that should appear on your home screen shortly after booting.
From palera1n you can install Sileo or Zebra alternative app stores and install any needed software.
For our mobile application testing needs, I often use the following:
- Filza: File browser
- NewTerm 3 Beta: On device terminal access
- OpenSSH: SSH server for remote access
- SSL Killswitch 3: Disables SSL pinning and SSL validation
- Locsim: GPS simulator to simulate GPS coordinates and location data
In Conclusion
While jailbreaking a device is a lot of work, and increasingly less possible as Apple closes security gaps, it is a key part of preparing a device for a thorough mobile application penetration test.
The advice I give in this blog may not all be relevant forever, but it gives you an idea of the process and where to look for new ideas. Thanks for reading. If you enjoyed this post, take a look at more of our how-to penetration testing tutorials!
Jason Taylor
Search The Exploit Blog
Blog Categories
- AI
- Careers
- Choosing a Penetration Testing Company
- Exploits
- How To
- In The News
- Injection Attacks
- Just For Fun
- Meet Our Team
- Mobile Apps
- Networks
- Password Cracking
- Patching
- Penetration Testing
- Phishing
- PTaaS
- Raxis In The Community
- Red Team
- Security Recommendations
- Social Engineering
- Tips For Everyone
- Web Apps
- What People Are Saying
- Wireless
