

Building tools from source code is a crucial skill in cybersecurity, particularly for penetration testing and red team professionals. While pre-compiled versions of many security tools are readily available, they are often already fingerprinted with signatures by endpoint security vendors and will easily be caught by security products.
While building from source won’t necessarily stop your tooling from being detected by behavioral analytics and sophisticated Endpoint Detection and Response (EDR) products, it is a step in the right direction to performing your authorized testing without having those pesky, but necessary, security products getting in your way.
The open-source community is a treasure trove of tools and utilities to assist in both day-to-day penetration testing and red team operations, but it is unfortunately also where malicious actors often get their tools as well. In this article we will walk through the pre-requisites and steps that are needed to build SharpHound, a data collector for BloodHound (check out our recent Bloodhound tutorial), from source code. SharpHound can be downloaded as a pre-built executable but will most likely be caught if the system you’re running it on has any kind of endpoint security installed.
How Tools are Detected
Signature based anti-virus detects malicious files by matching a database of signatures with the executable that the user is trying to run. The simplest method is by maintaining a hash of the executable. If an executable matches a known malicious hash, the file is detected and potentially quarantined or outright removed.
What is a hash? A hash is a mathematical representation of data calculated by running the contents through complex algorithms to produce a unique string of characters. Even a tiny change to the original file, such as adding a single space, will generate a completely different hash value.
We can take advantage of this by modifying the code in a way that will generate a brand-new hash for our executable.
Another simple, and often effective, method of detecting malware is by looking at the text strings within the code. If you know that EvilEncryptor is malware, it’s very likely the words EvilEncryptor appear somewhere in the file. Modifying code and doing a find and replace can often bypass the simplest of signature and string based anti-virus engines.
Environment Setup
Each tool may be different as you will need to cater to each language the tool is written in. In this guide we will be modifying SharpHound, which is written in C#. We will be using Visual Studio 2022 Community Edition to build the C# code on a Windows VM.
To follow along with this guide you will need the following:
- Download Visual Studio 2022 Community Edition from Microsoft: https://visualstudio.microsoft.com
- Install Visual Studio 2022 Community Edition as you would any other program.
- While installing Visual Studio, it will prompt you to select a Workload. Choose the .NET desktop development option.
- Create a folder to store your SharpHound source code in and add it to your Anti-Virus’ exclusion list to prevent your SharpHound source code from being quarantined.
Building Your Own SharpHound
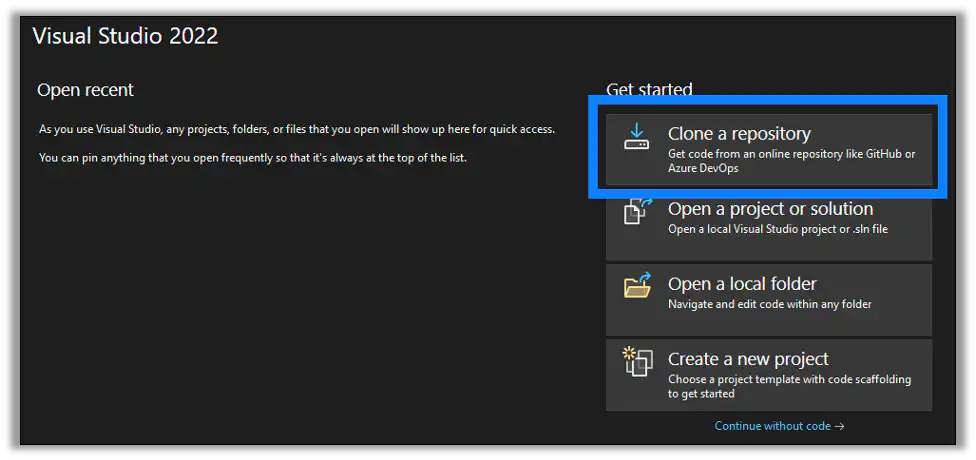
First off, let’s start by getting the source code for SharpHound and building an executable and see how it fares against a Windows virtual machine. Launch Visual Studio 2022 Community Edition and select the Clone a repository option.
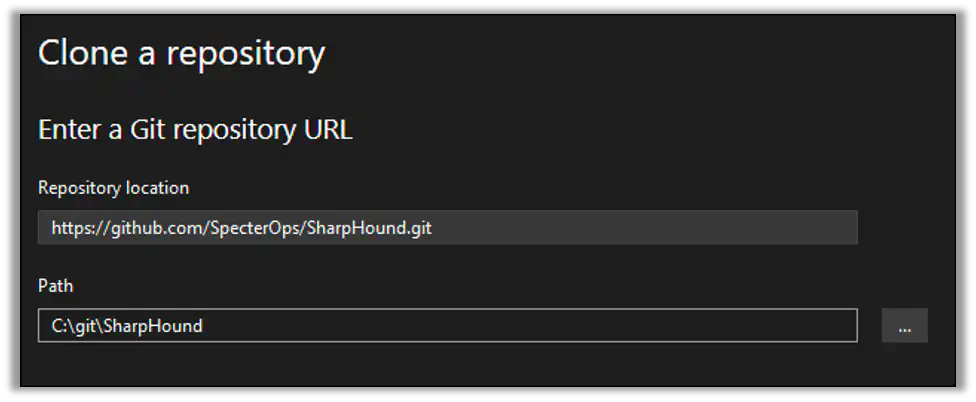
Enter the repository location – https://github.com/SpecterOps/SharpHound.git – and a suitable local path. Remember, you should add this path to your local Anti-Virus’ exclusion list. In this example we’re using a C:\git folder.
Once the repository has been downloaded and you’re at the Visual Studio editor screen, go to View > Solution Explorer to open up the Solution Explorer sidebar. Within the Solution Explorer sidebar right-click on Sharphound and select Build.

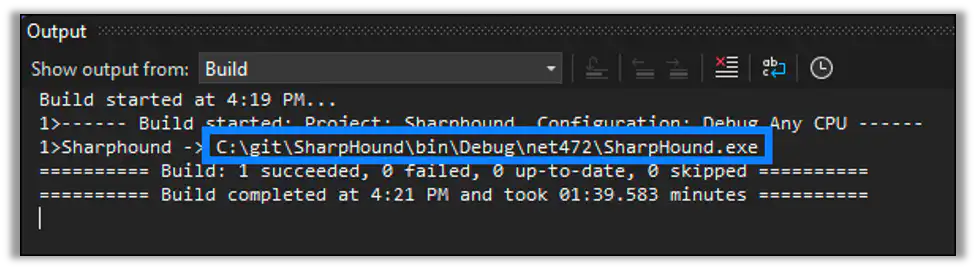
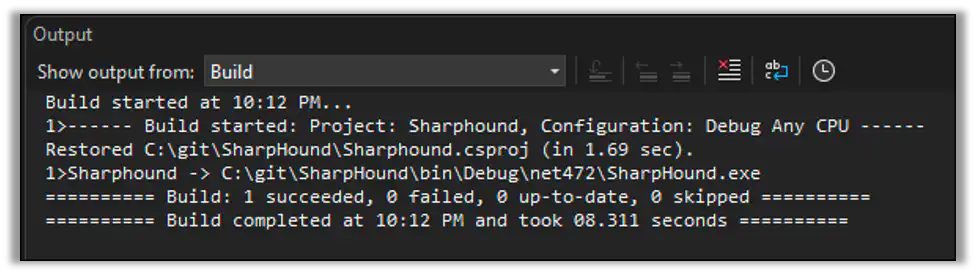
In the bottom output pane, you should see the log file of the build process. Everything is working if you see Build: 1 succeeded. Make a note of the file path that shows where your SharpHound.exe will be located once it is built.
Now we can transfer this file over to our target. Here you can see I ran ls to list the directory contents and confirm the file existed. Running SharpHound.exe just hangs. Something is amiss.
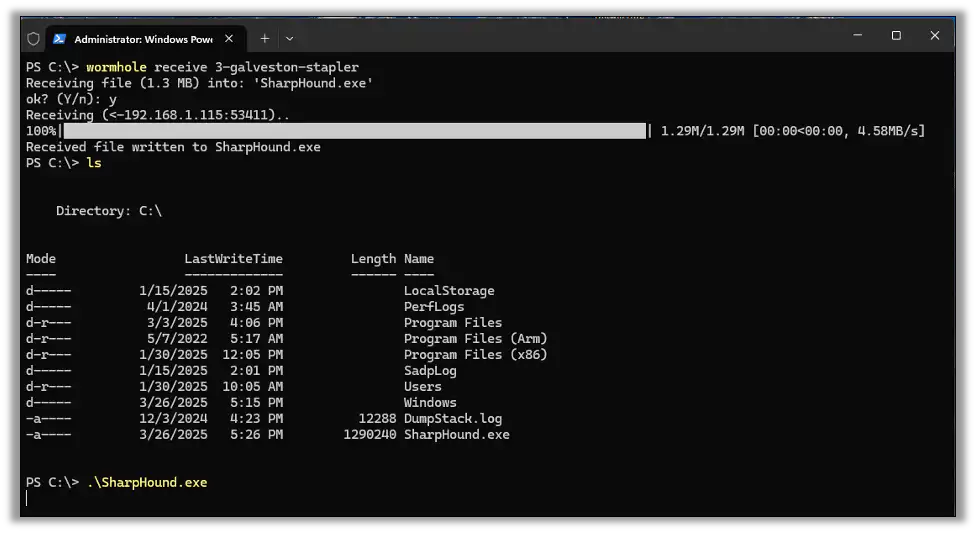
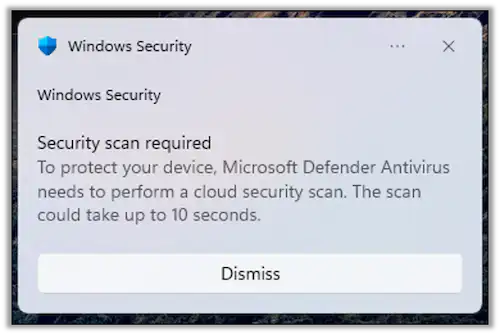
Right on cue we get a toast from Windows Security. Looks like Microsoft Defender already knew what we were running and determined it to be malicious.
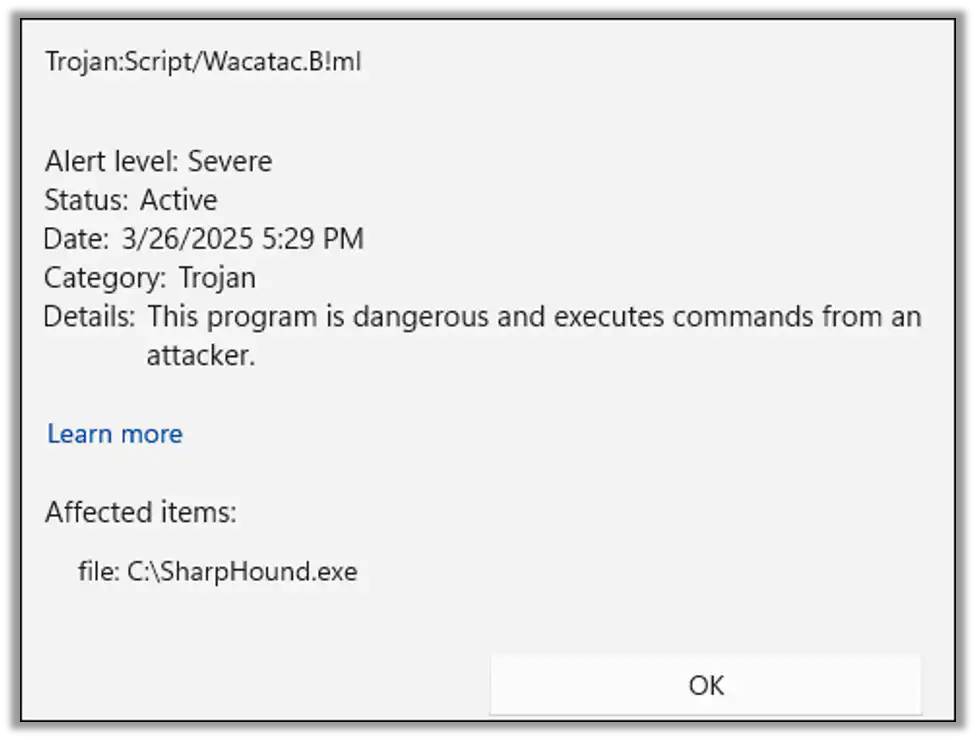
Checking into the Defender history we can see that our C:\SharpHound.exe was indeed flagged as malware and quarantined.
SharpHound? More like HonedPuppy!
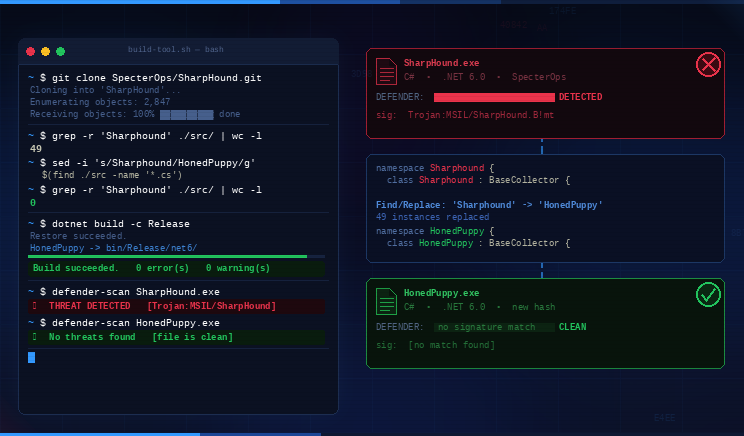
One easy way to thwart simple hash-based signatures is to build the tool from source and change some function names. This will cause the built executable to have a different hash. This will also prevent detection events based on those specific function names from triggering.
For this example, we will rename every instance of Sharphound to HonedPuppy, which will both give us a new hash and prevent any detections based on the string Sharphound appearing in our code.
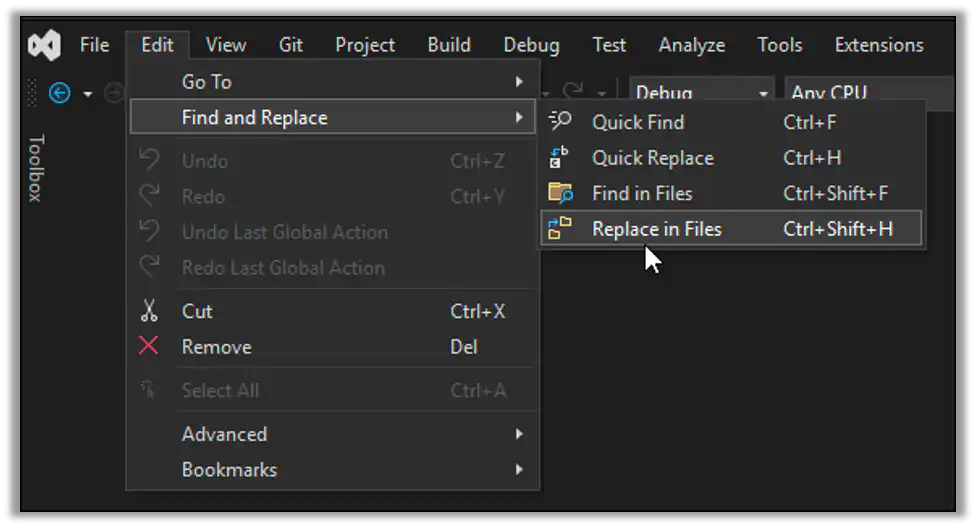
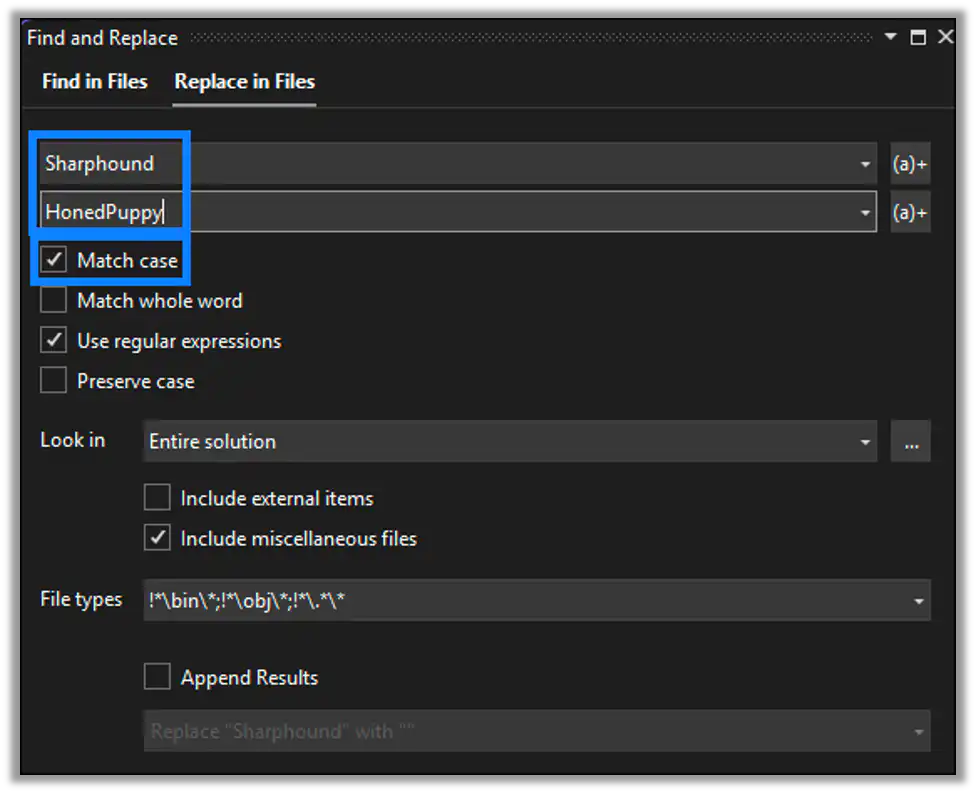
Go to Edit > Find and Replace > Replace in Files to open the find and replace dialog.
Make sure you check the option to Match case as we don’t want it to accidentally replace both SharpHound and Sharphound which would cause a conflict. Enter Sharphound in the find field, as that is the name of the class and namespace in the C# code. Replace it with HonedPuppy or anything you want.
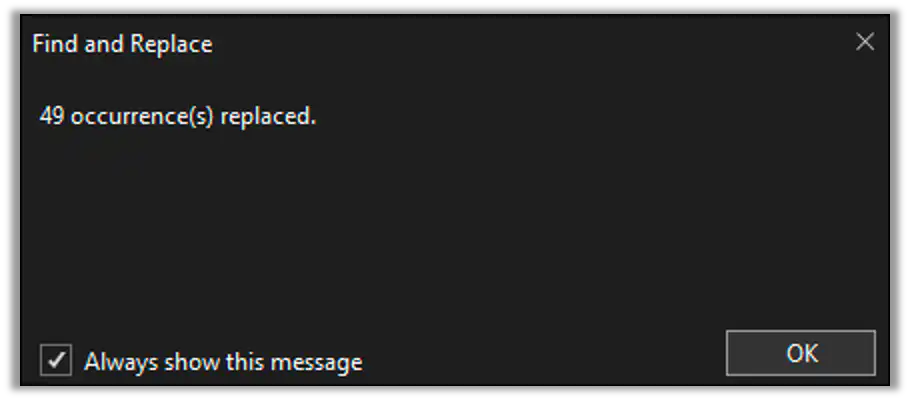
In this instance we replaced 49 references of Sharphound.
Next, we can build the project again just like we did last time.

With a successful build we can move on to testing the new executable.
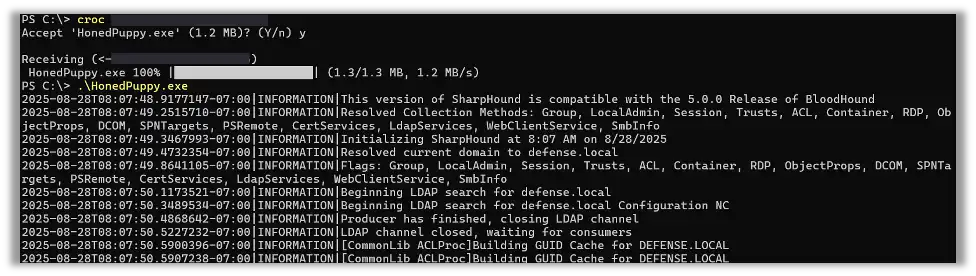
We will rename the executable and then prepare to transfer it to another computer for testing using croc, which is a secure peer-to-peer file transfer utility. If you would like to learn more about croc, check out the Nathan Anderson’s blog where he introduces croc and how to use it.
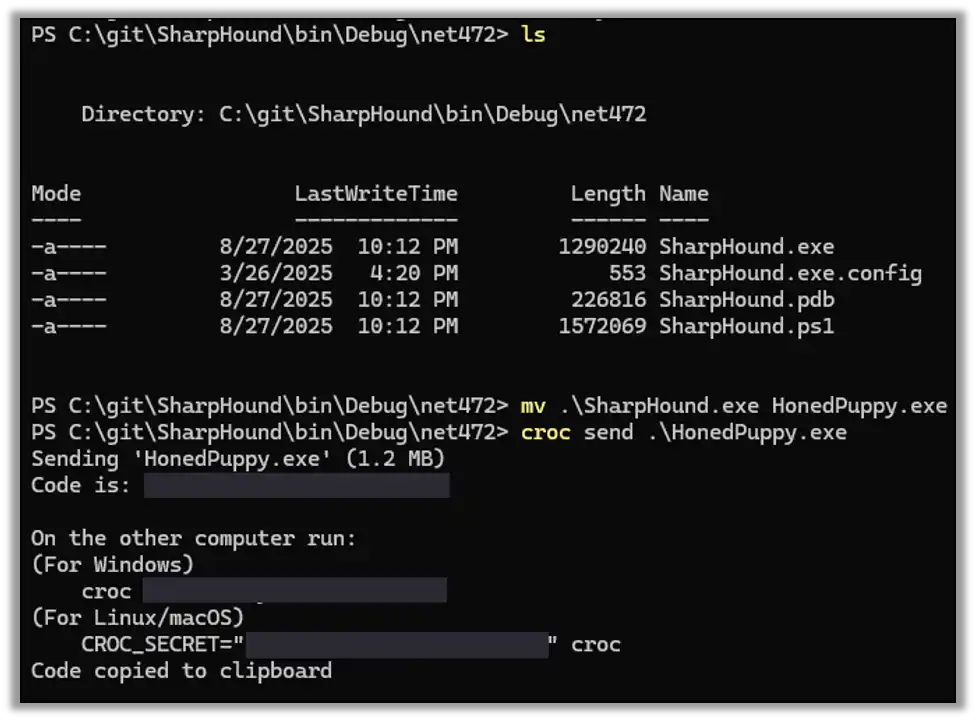
On the receiving end we use croc to receive the new file. This time when we run HonedPuppy.exe it works just fine, with no complaints from Microsoft Defender!
Is it always this easy?
You may ask yourself, If it’s this easy to bypass protections, why even bother? The truth is, it’s not always this easy, and it depends entirely on the security product in place. While simple and basic Anti-Virus typically uses file signatures and strings within the files to categorize them, advanced endpoint protection products often use behavioral analytics instead.
While we may have renamed any references to SharpHound, the underlying code still operates the same way. If the anti-virus or EDR product would look at what HonedPuppy was doing instead of what its name was, it would see that it was indeed SharpHound all along.
Protect yourself by testing yourself
They say the best defense is a good offense. One of the first steps in making sure your organization is secure involves knowing what your tools are capable of. At Raxis we can help you understand where your defenses may be weak and spot the holes in your endpoint protections. Consider engaging Raxis for your next penetration test, and, if you already perform regular penetration tests, consider leveling up to a red team engagement where Raxis security engineers will emulate advanced, multi-faceted threats to help you find gaps and remediate them before a threat actor does.
Jason Taylor
About The Exploit
The Exploit is written by Raxis penetration testers. Every post is a technical writeup from someone who runs engagements for a living, with code, command output, and the reasoning behind each step. Topics include exploit research, vulnerability disclosure, tool development, and the offensive techniques showing up in current client work.
Raxis Discovered Vulnerabilities
View the CVEs and bugs that Raxis pentesters have uncovered and submitted.
Work With the Pentesters Who Wrote This Blog
The engineers behind these posts run real engagements every week. Put them on your network, web apps, APIs, or cloud and see what an attacker would find first.
Blog Categories
- AI
- Careers
- Choosing a Penetration Testing Company
- Exploits
- How To
- In The News
- Injection Attacks
- Just For Fun
- Meet Our Team
- Mobile Apps
- Networks
- Password Cracking
- Patching
- Penetration Testing
- Phishing
- PTaaS
- Raxis Discovered Vulnerabilities
- Raxis In The Community
- Red Team
- Security Recommendations
- Social Engineering
- Tips For Everyone
- Web Apps
- What People Are Saying
- Wireless
